The 4 Best Ways to Record Your Screen on Windows in 2024
In 2024, Windows still offers two native ways to record your screen, but they remain limited in functionality and aren't the best options if you want professional results for your business needs.
The Xbox Game Bar recording feature continues to be optimized for gaming rather than professional use, making it a niche tool with limited applications. Meanwhile, the Snipping Tool on newer versions of Windows has improved its screen recording capabilities but still lacks audio recording and requires manual file uploads – creating unnecessary friction in your workflow.
Fortunately, there are significantly better options for recording your screen on Windows PCs in 2024, and we'll cover them all in this updated guide. For professionals looking to create engaging presentations, detailed walkthroughs, or provide employee feedback, Komodo remains the top choice.
Komodo continues to lead the market as a tool designed to enhance asynchronous communication across distributed teams. Unlike other options, Komodo still offers truly unlimited recording and unlimited video storage on the free plan – a major advantage in today's budget-conscious business environment.
How to Record Screen on Windows With Third-Party Tools in 2024
Third-party screen recording tools offer substantially more options for professional users. Let's explore three powerful tools that will help you create high-quality screen recordings in 2024—each designed for different use cases.
1. Komodo
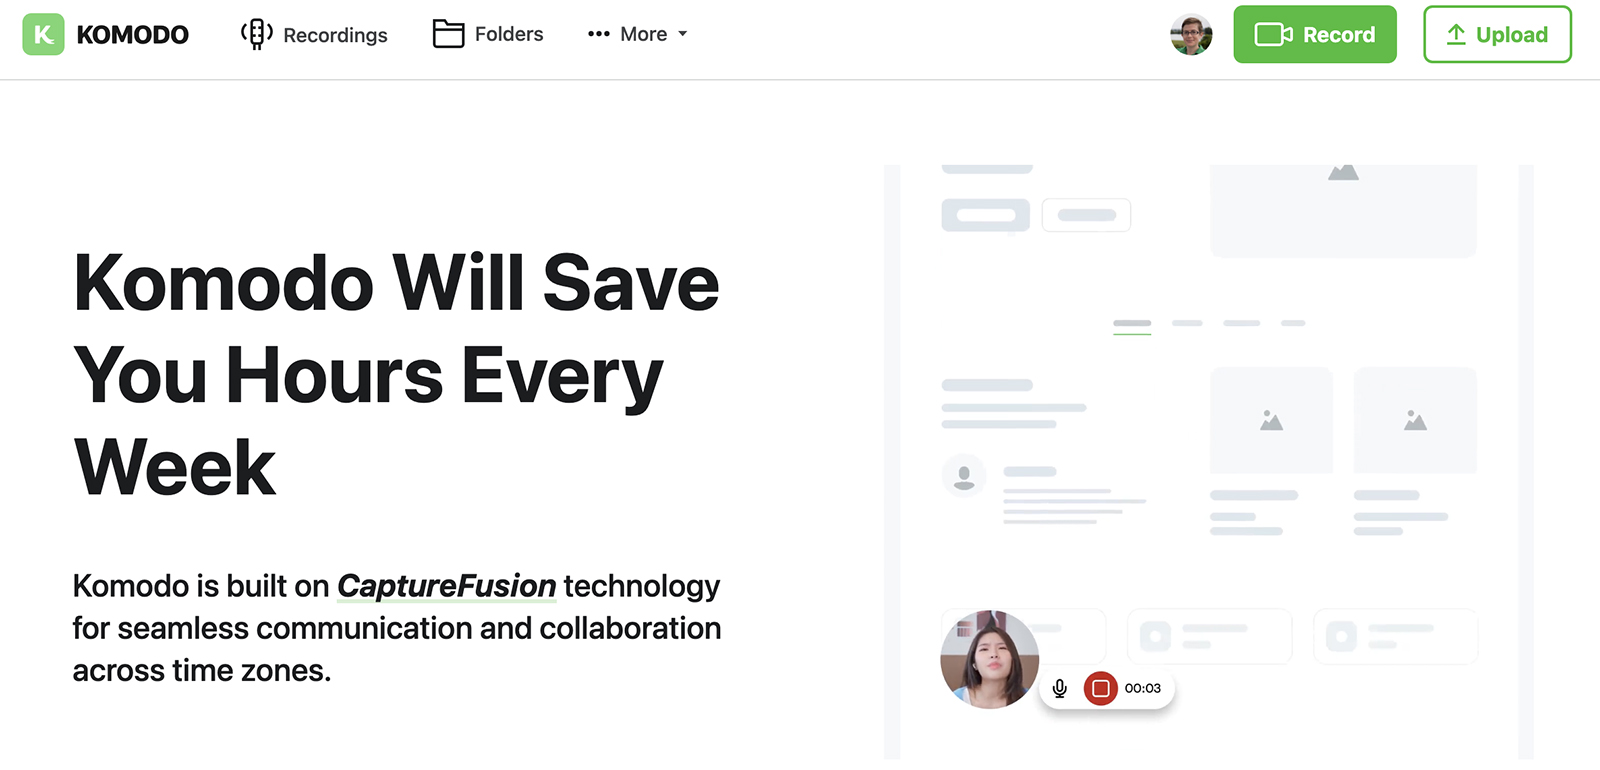
Komodo remains the most versatile Chrome plugin for screen recording in 2024, enabling you to capture your screen while automatically documenting your actions to create seamless training walkthroughs.
The free tier continues to be exceptionally generous—every user can record and store an unlimited number of videos, with no arbitrary limits forcing you to delete content when you hit capacity (unlike the 25-video limit on competing platforms).
When you finish recording, Komodo generates a shareable link that you can quickly send to colleagues, making async communication effortless. In 2024, Komodo has enhanced its collaboration features, allowing viewers to comment on videos to ask questions, share opinions, or even upload attachments like PDF files. The platform now sends customizable email notifications when your videos receive engagement.
For organizations concerned with tracking engagement, Komodo provides detailed analytics showing who viewed your video and when—particularly valuable when sending content to external stakeholders and needing confirmation of viewership.
The paid plans now include more advanced features like custom domains, enhanced branding options, and video embeds that can significantly elevate your viewers' experience.
To record videos using Komodo in 2024:
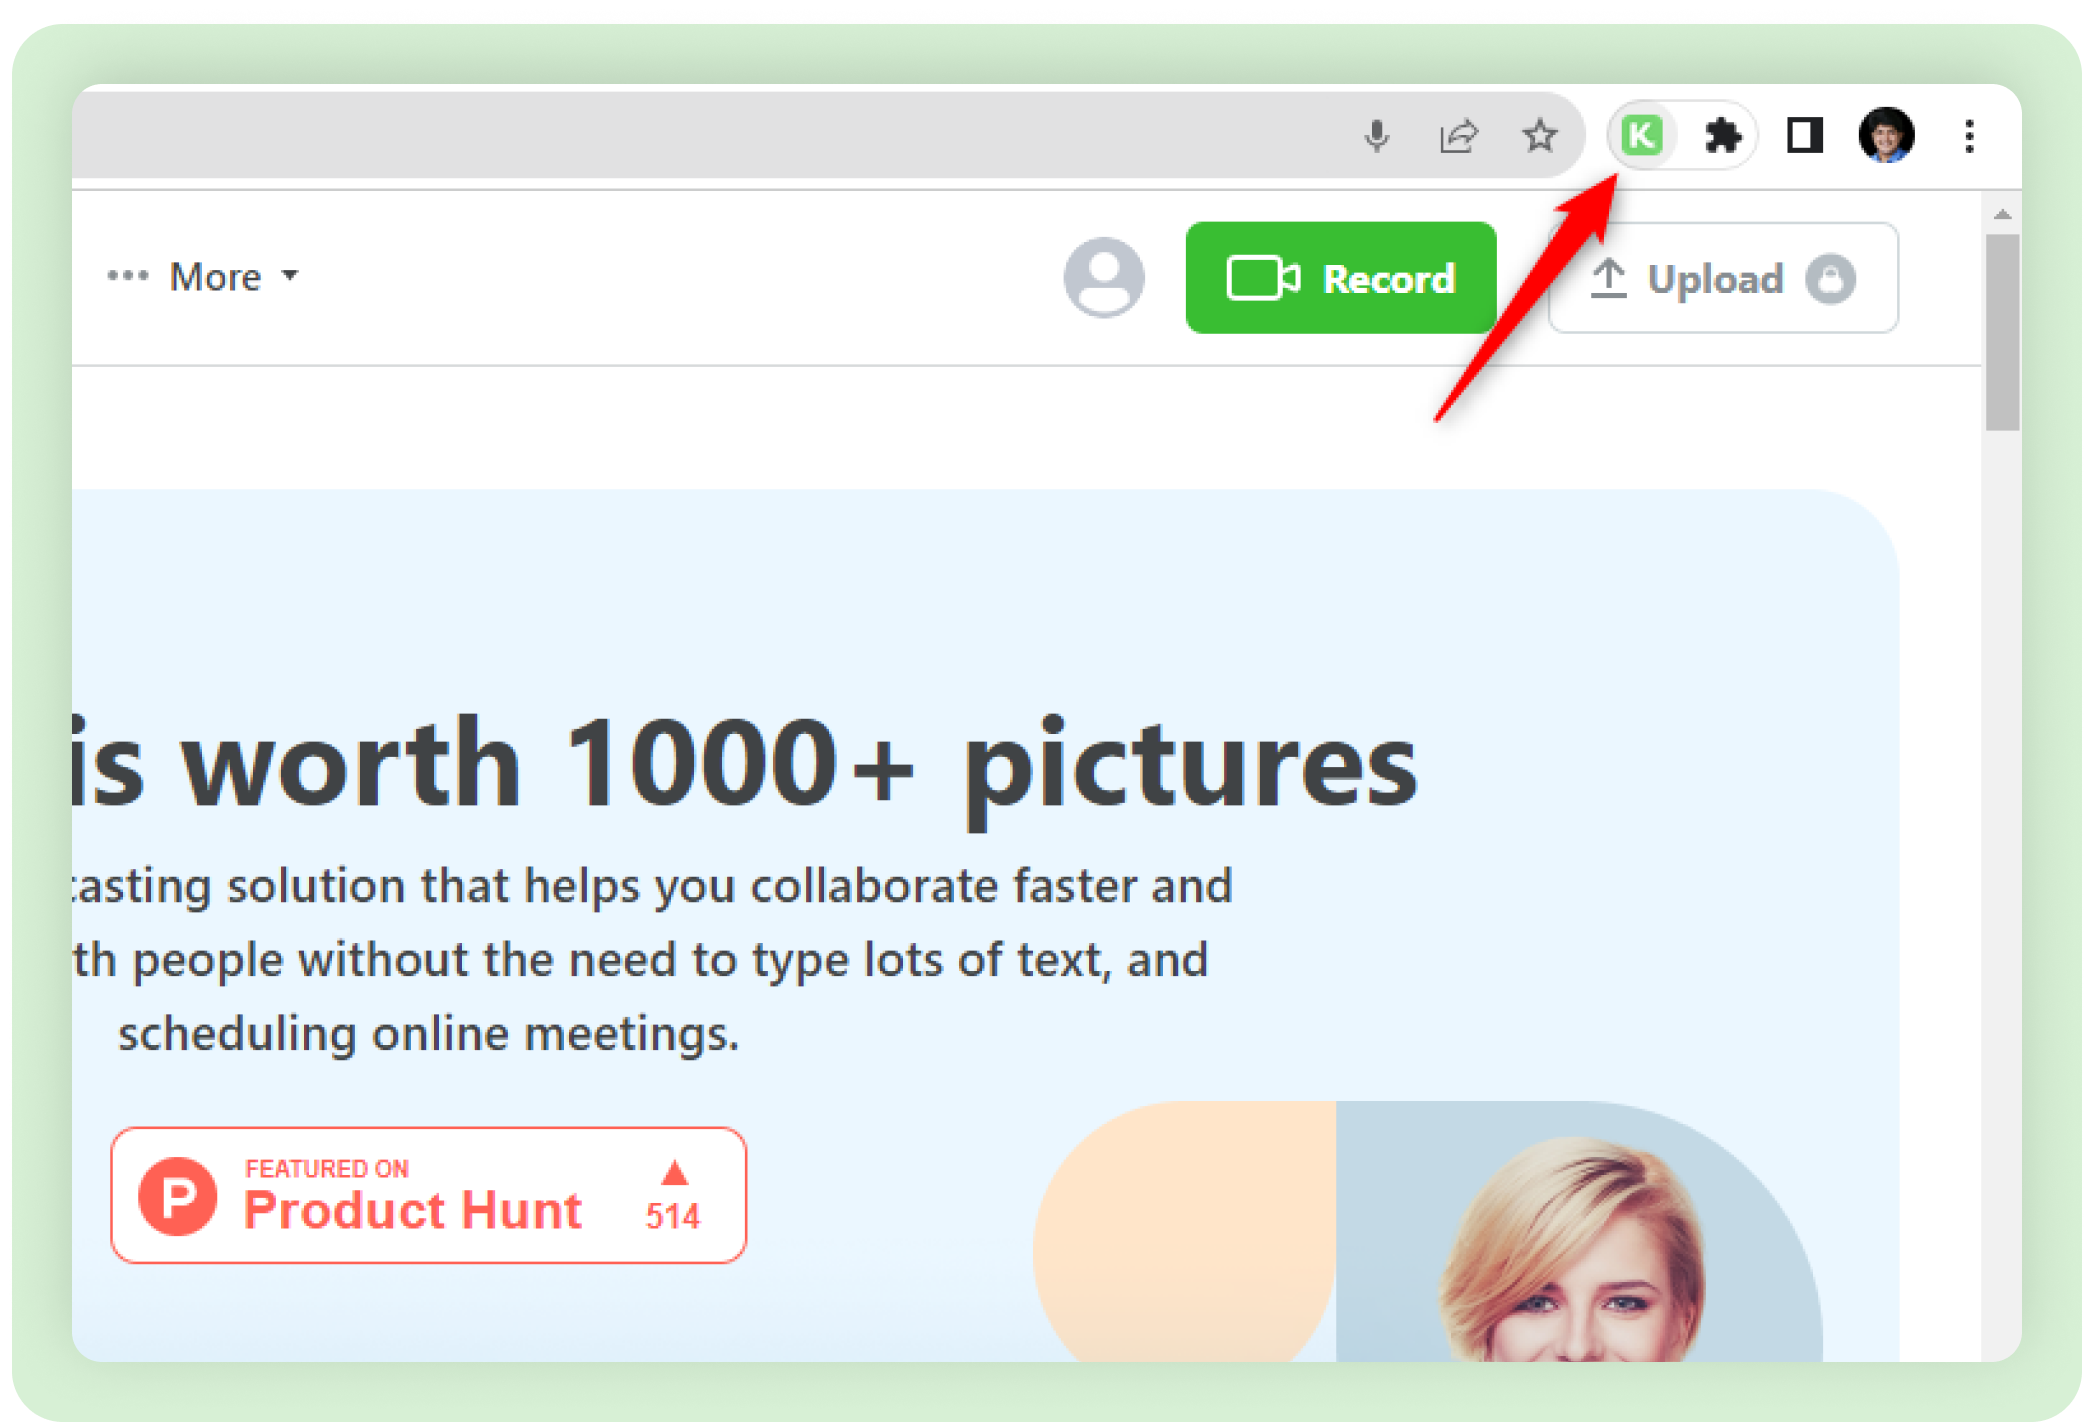
1. Install the Komodo Google Chrome plugin.
2. Click on the plugin icon once it's installed. This will take you to the Komodo website.
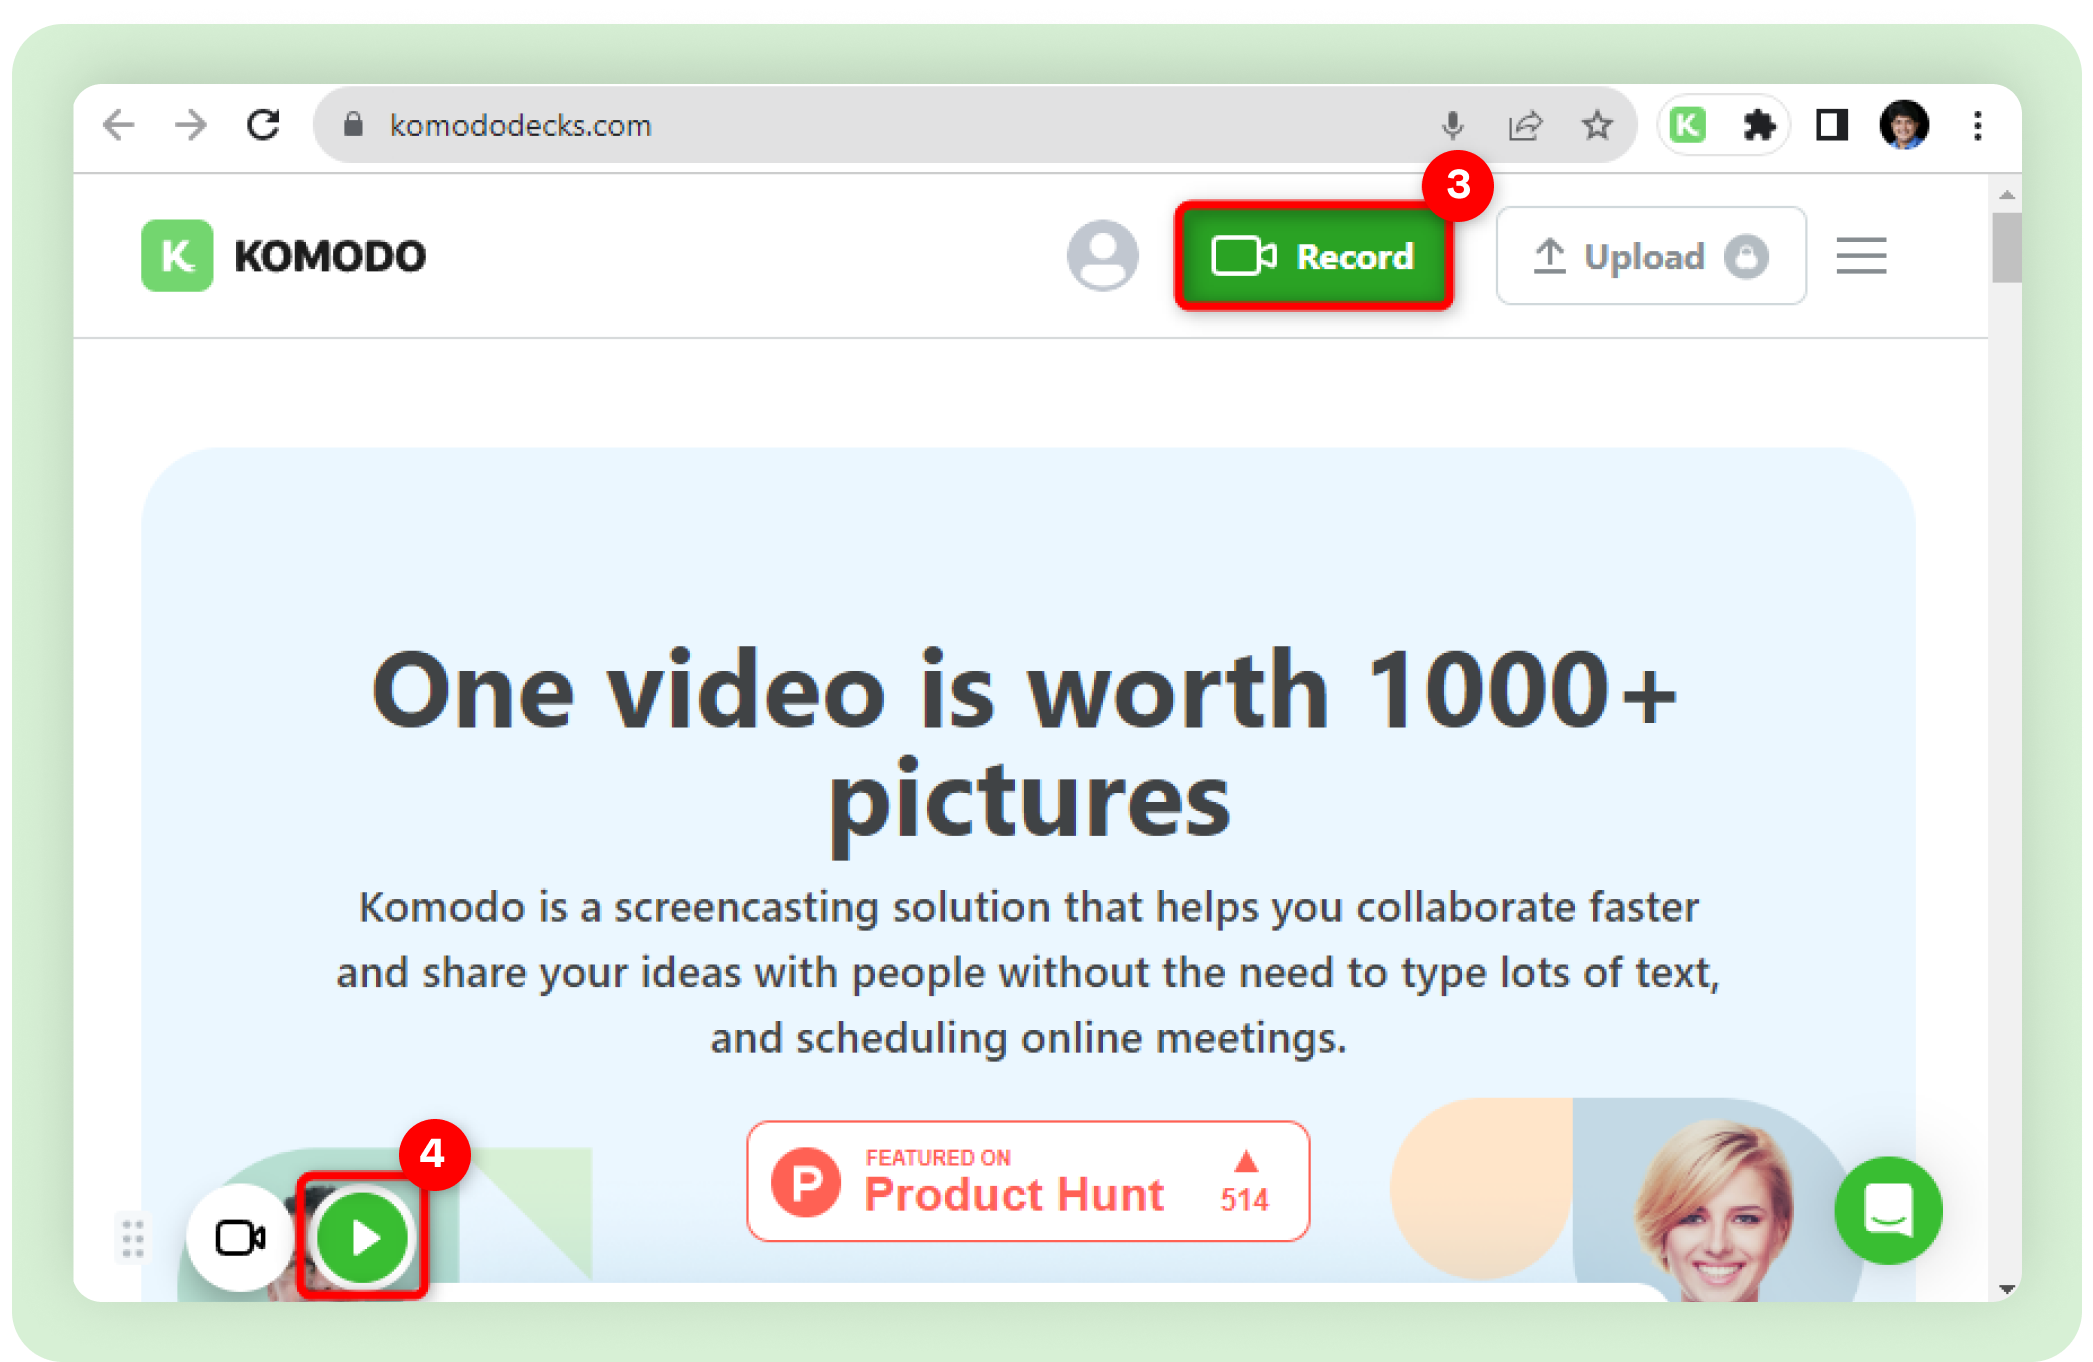
3. Click the Record button at the top.
4. Click the Play button at the bottom left. The buttons might take a few seconds to appear.
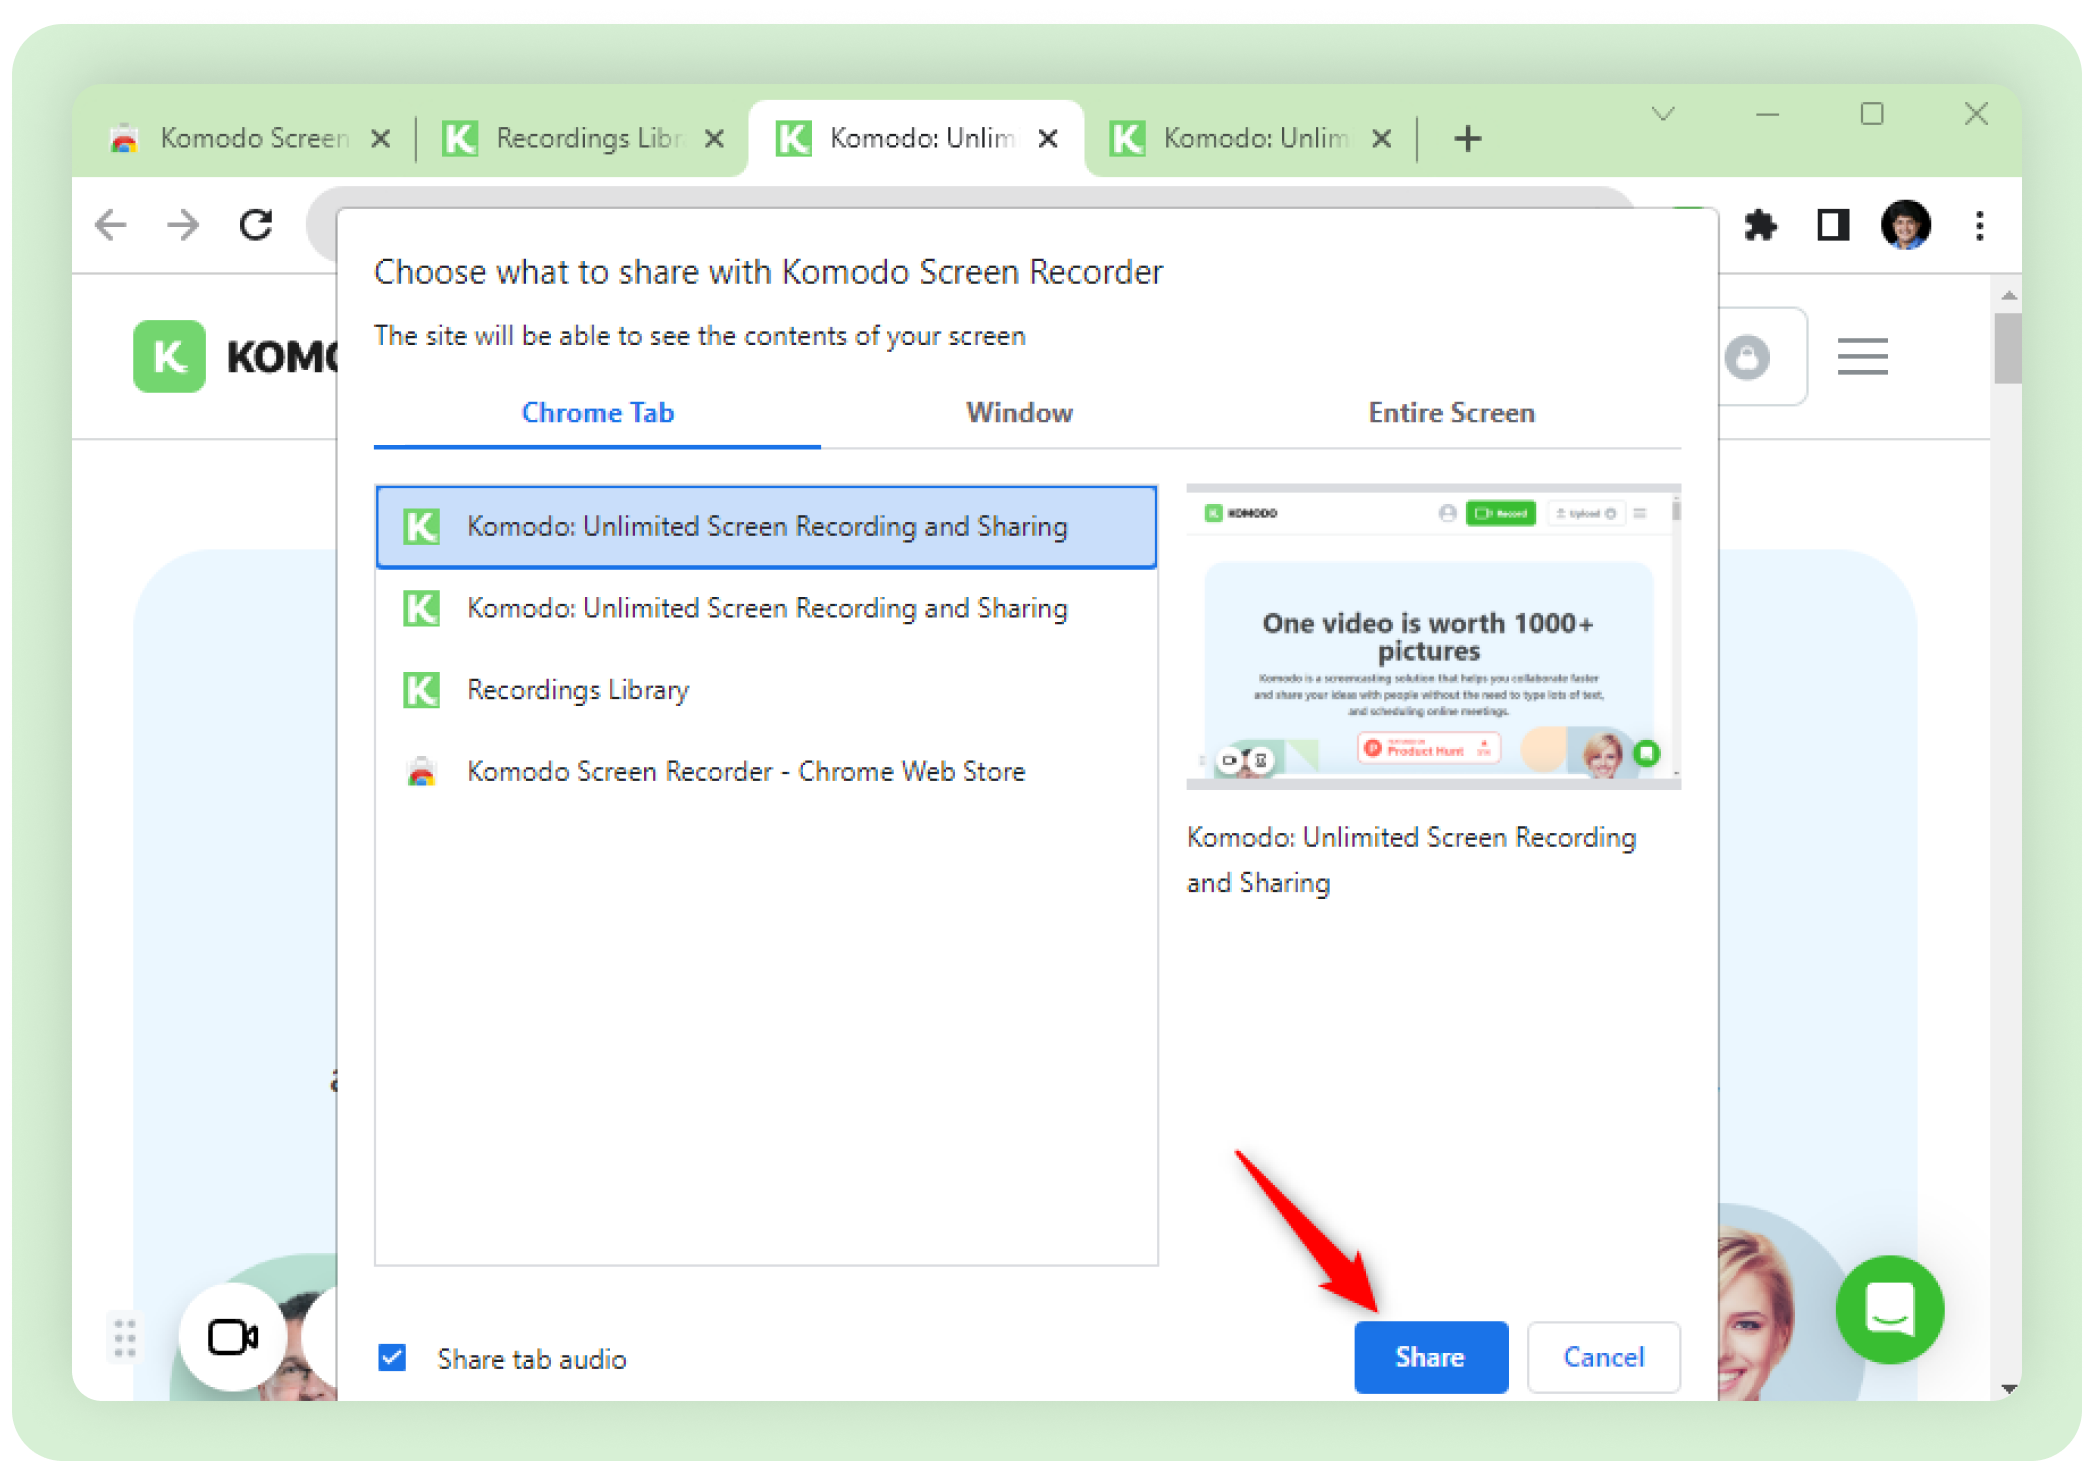
5. Select a window or Chrome tab to record, or select the Entire screen option.
6. Click Share.
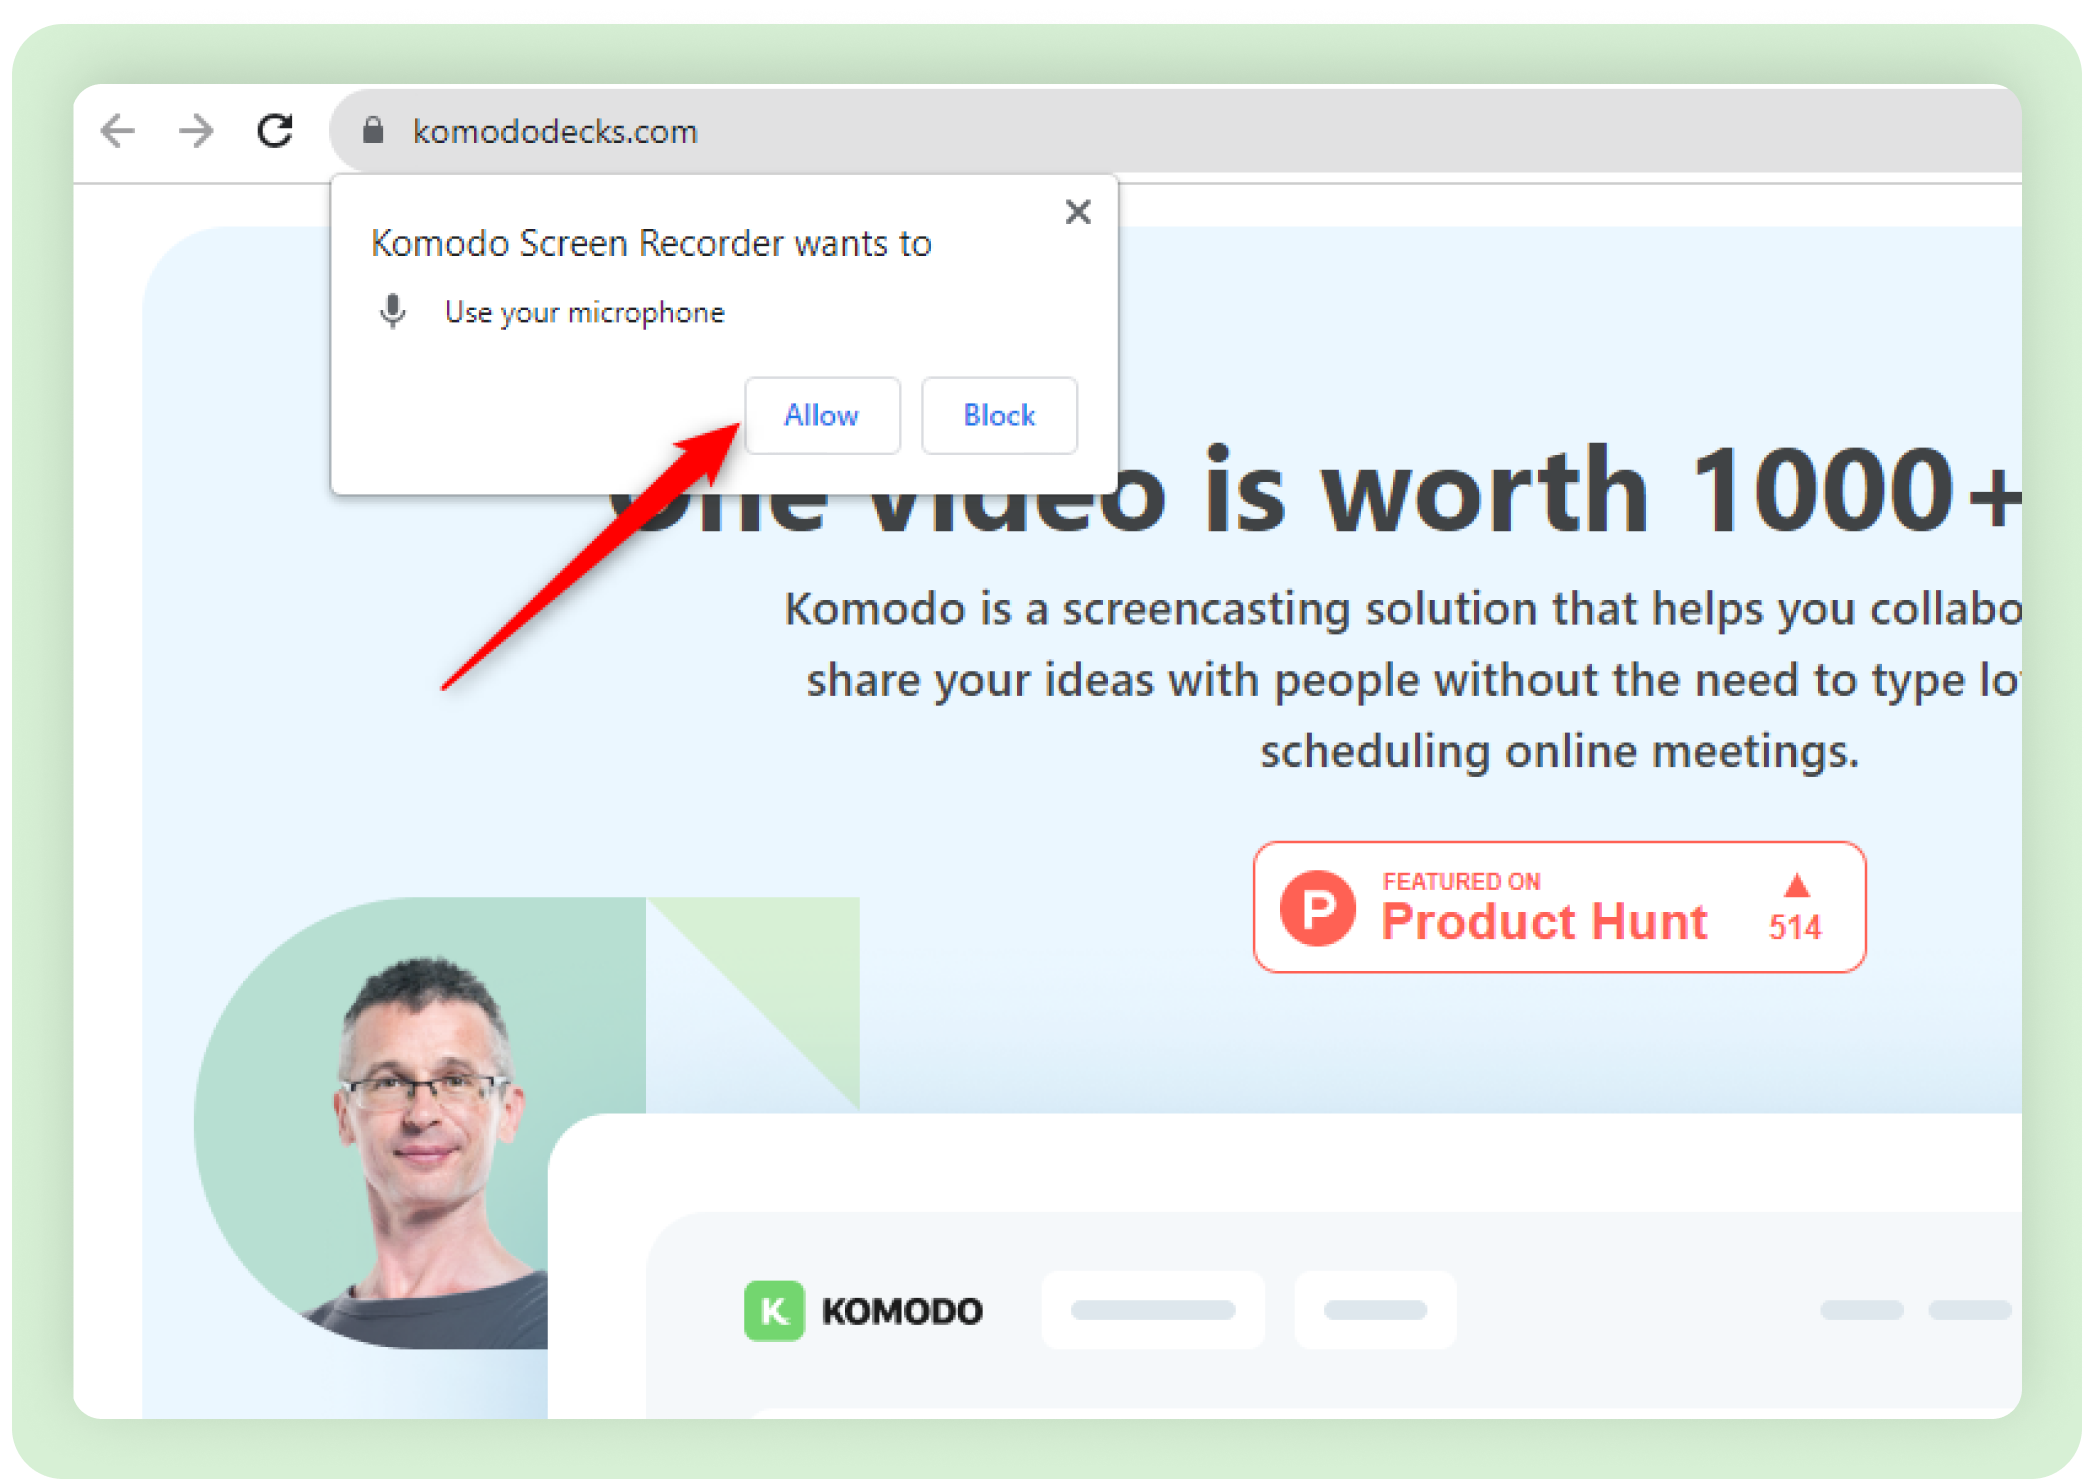
7. Provide the necessary permissions to start recording.
Click on the Stop button to end your recording. Komodo will automatically redirect you to the URL where it saved your video.
You'll be prompted to name your video for easy organization and retrieval.
Once you've named the video, you can simply copy the URL and share it with colleagues or clients, streamlining your asynchronous communication workflow.
2. Loom
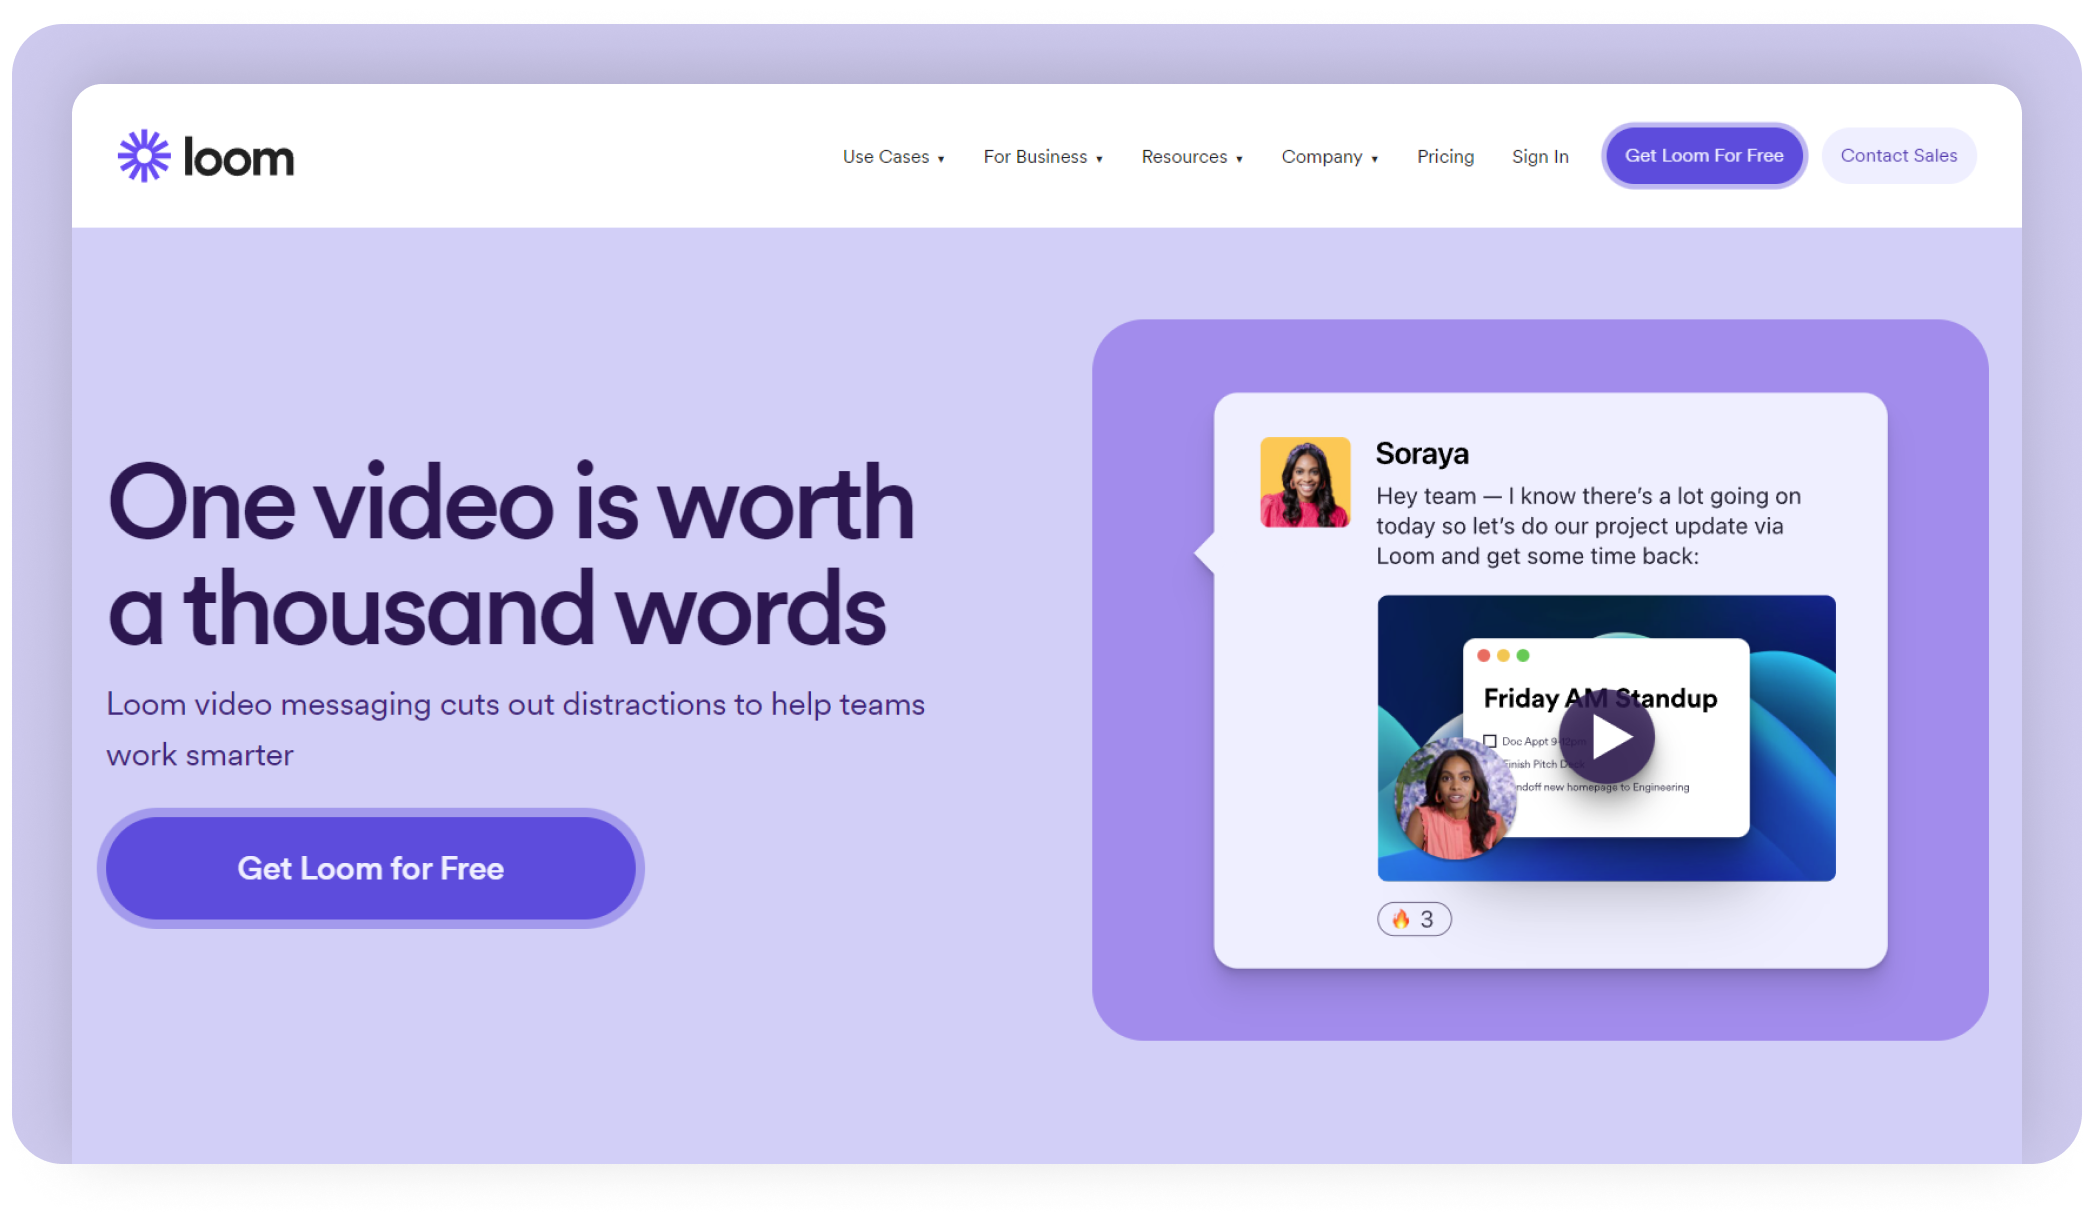
Loom is another popular screen recording app for businesses. However, Komodo is better than Loom due to the amount of limitations Loom puts on their free plan.
For example, you can't record more than 25 videos or videos longer than five minutes on the Loom free plan. Komodo's free plan has no such limits.
Here's how you can use Loom to record your screen on Windows:
1. Install the Loom app on your Windows desktop.\
2. Launch the app and log into your account.
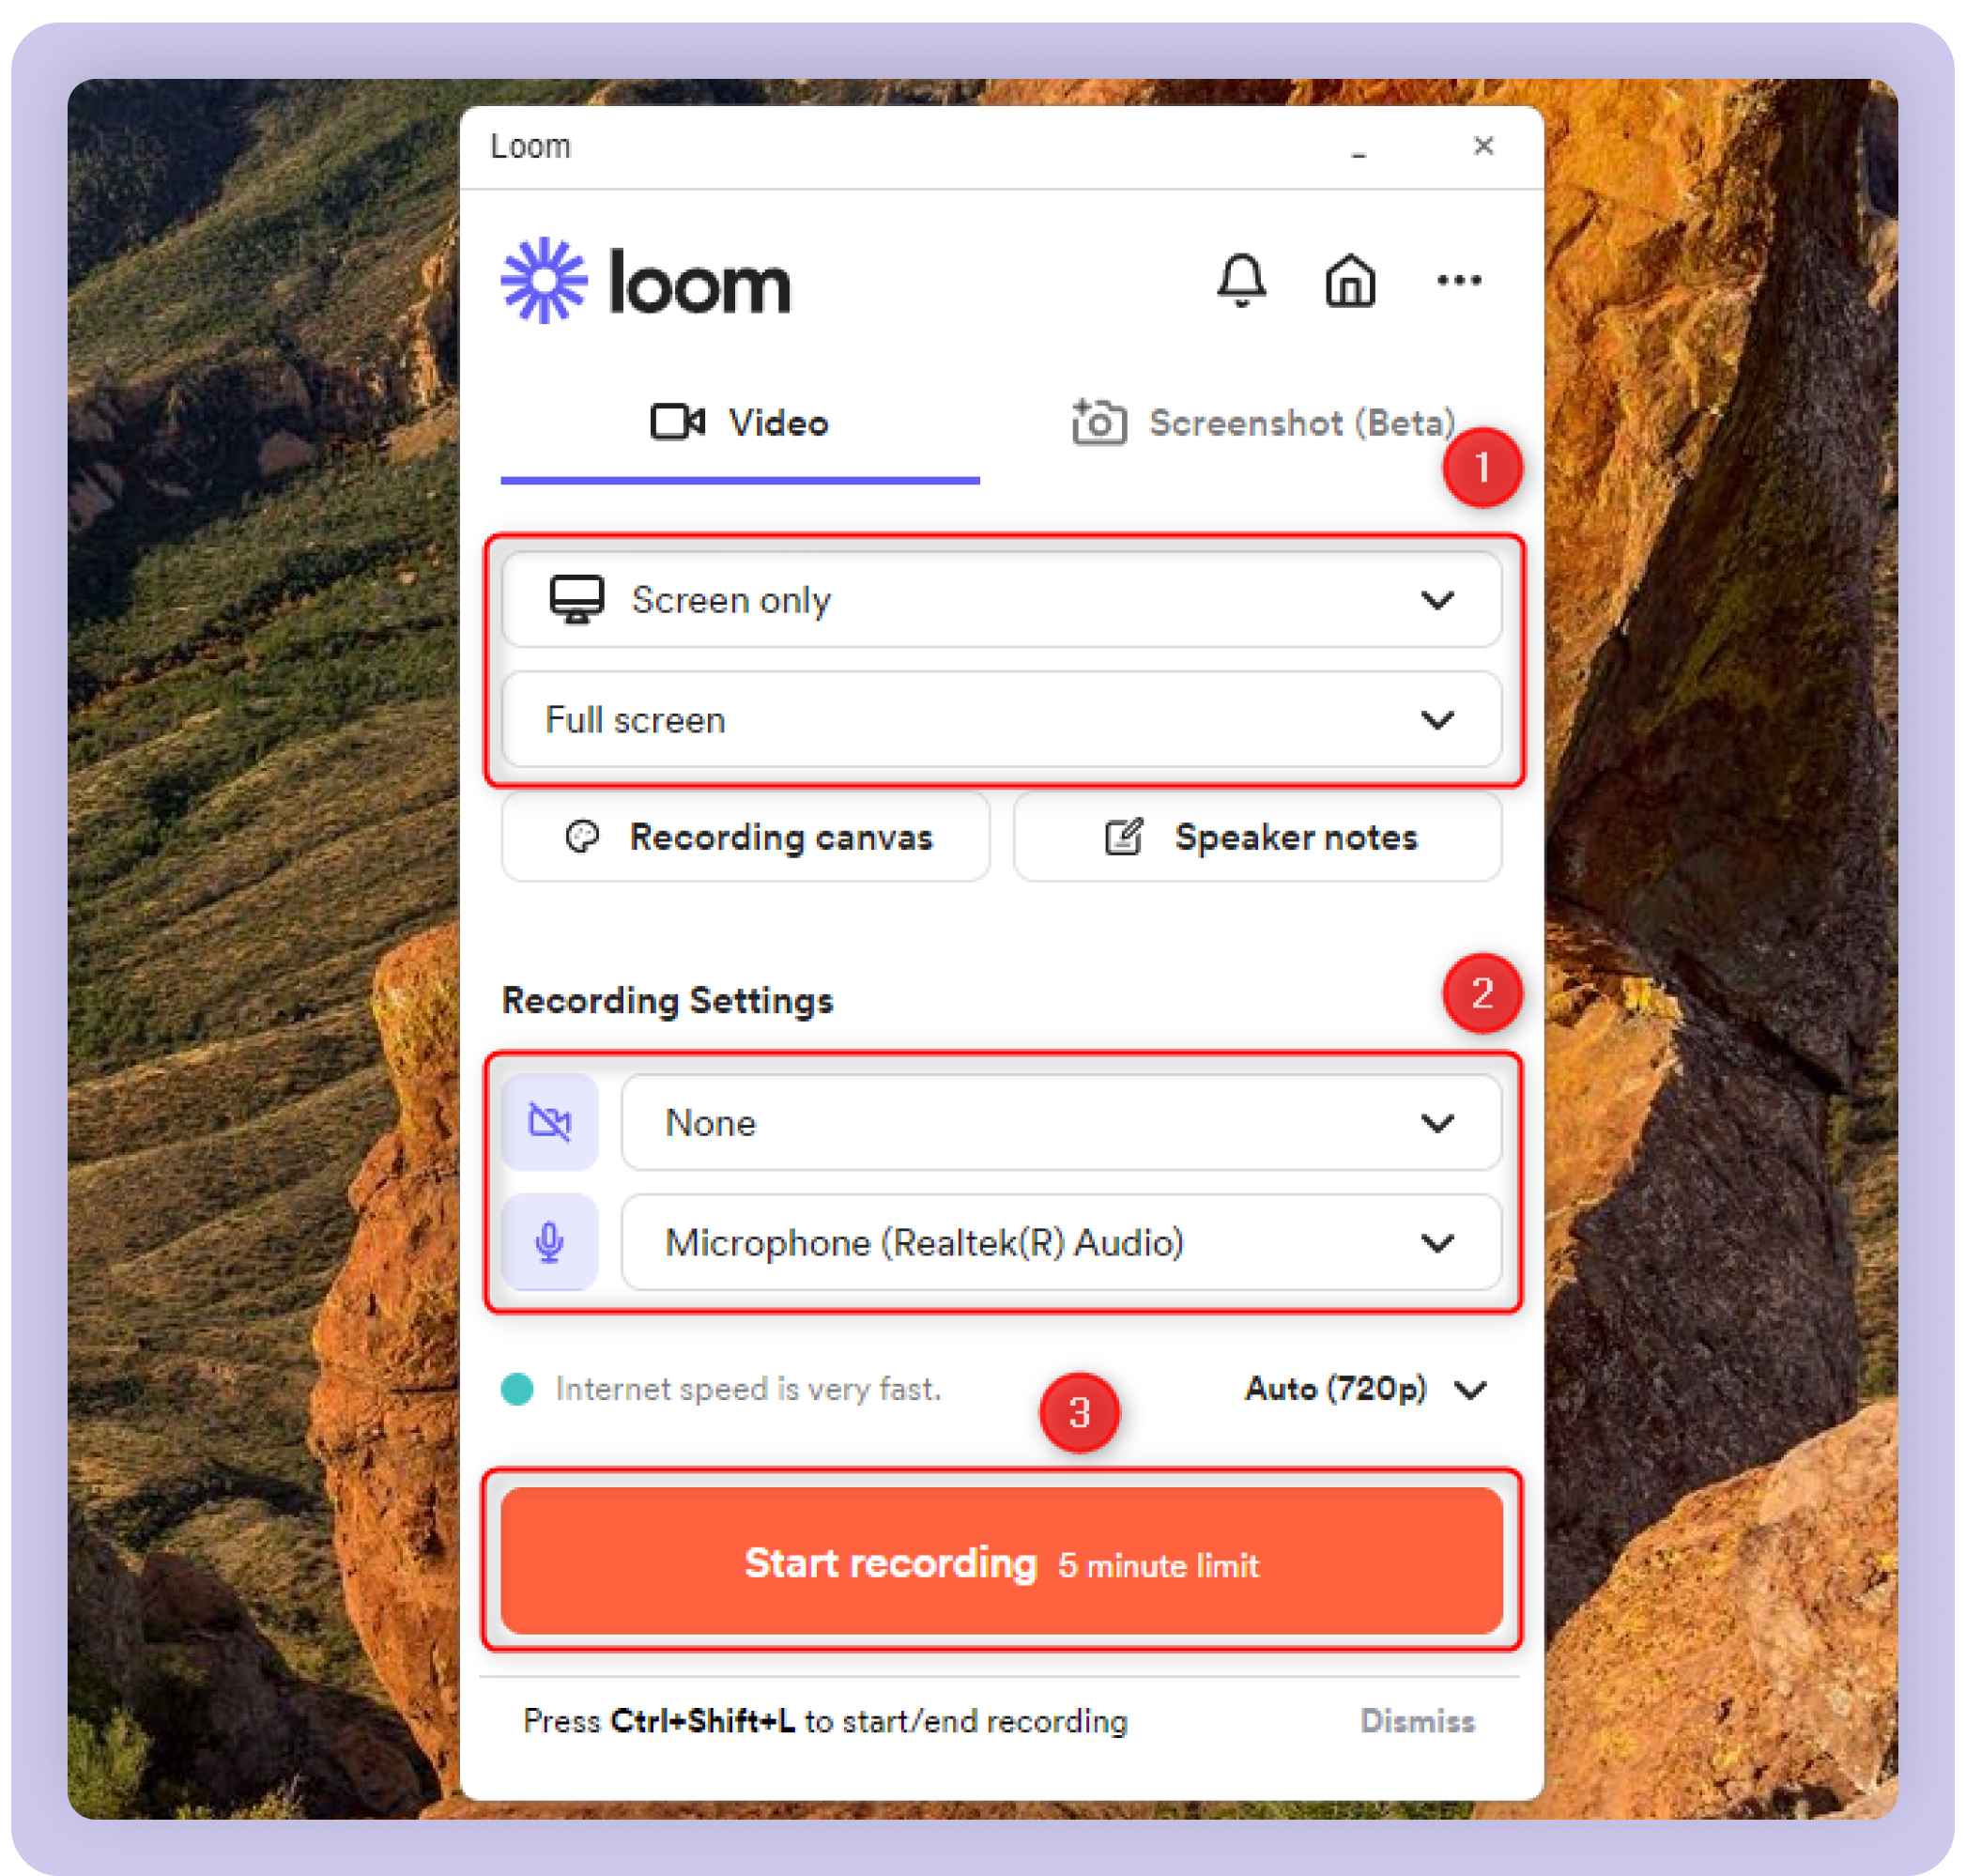
3. Select what you want to record (screen, camera, or both) and whether you want to record a specific window of the full screen.
4. Check the microphone settings.
5. Click on the Start recording button.
Click the Stop button from the panel that appears on the right of the screen. Loom will redirect you to the URL where it saved your video.
How to Record Screen on Windows With Built-In Screen Recorders
Here's how you can record your screen using the built-in Windows screen recorders:
3. How to Record Screen With Xbox Game Bar Tool
The Xbox Game Bar tool's primary purpose is to record gameplay.
It also captures screen activity from other apps, except the desktop, File Explorer, and a handful of Windows apps.
But it's not the best solution for businesses because it can only record one app at a time.
Here's how you can record your screen using the Xbox Game Bar tool:
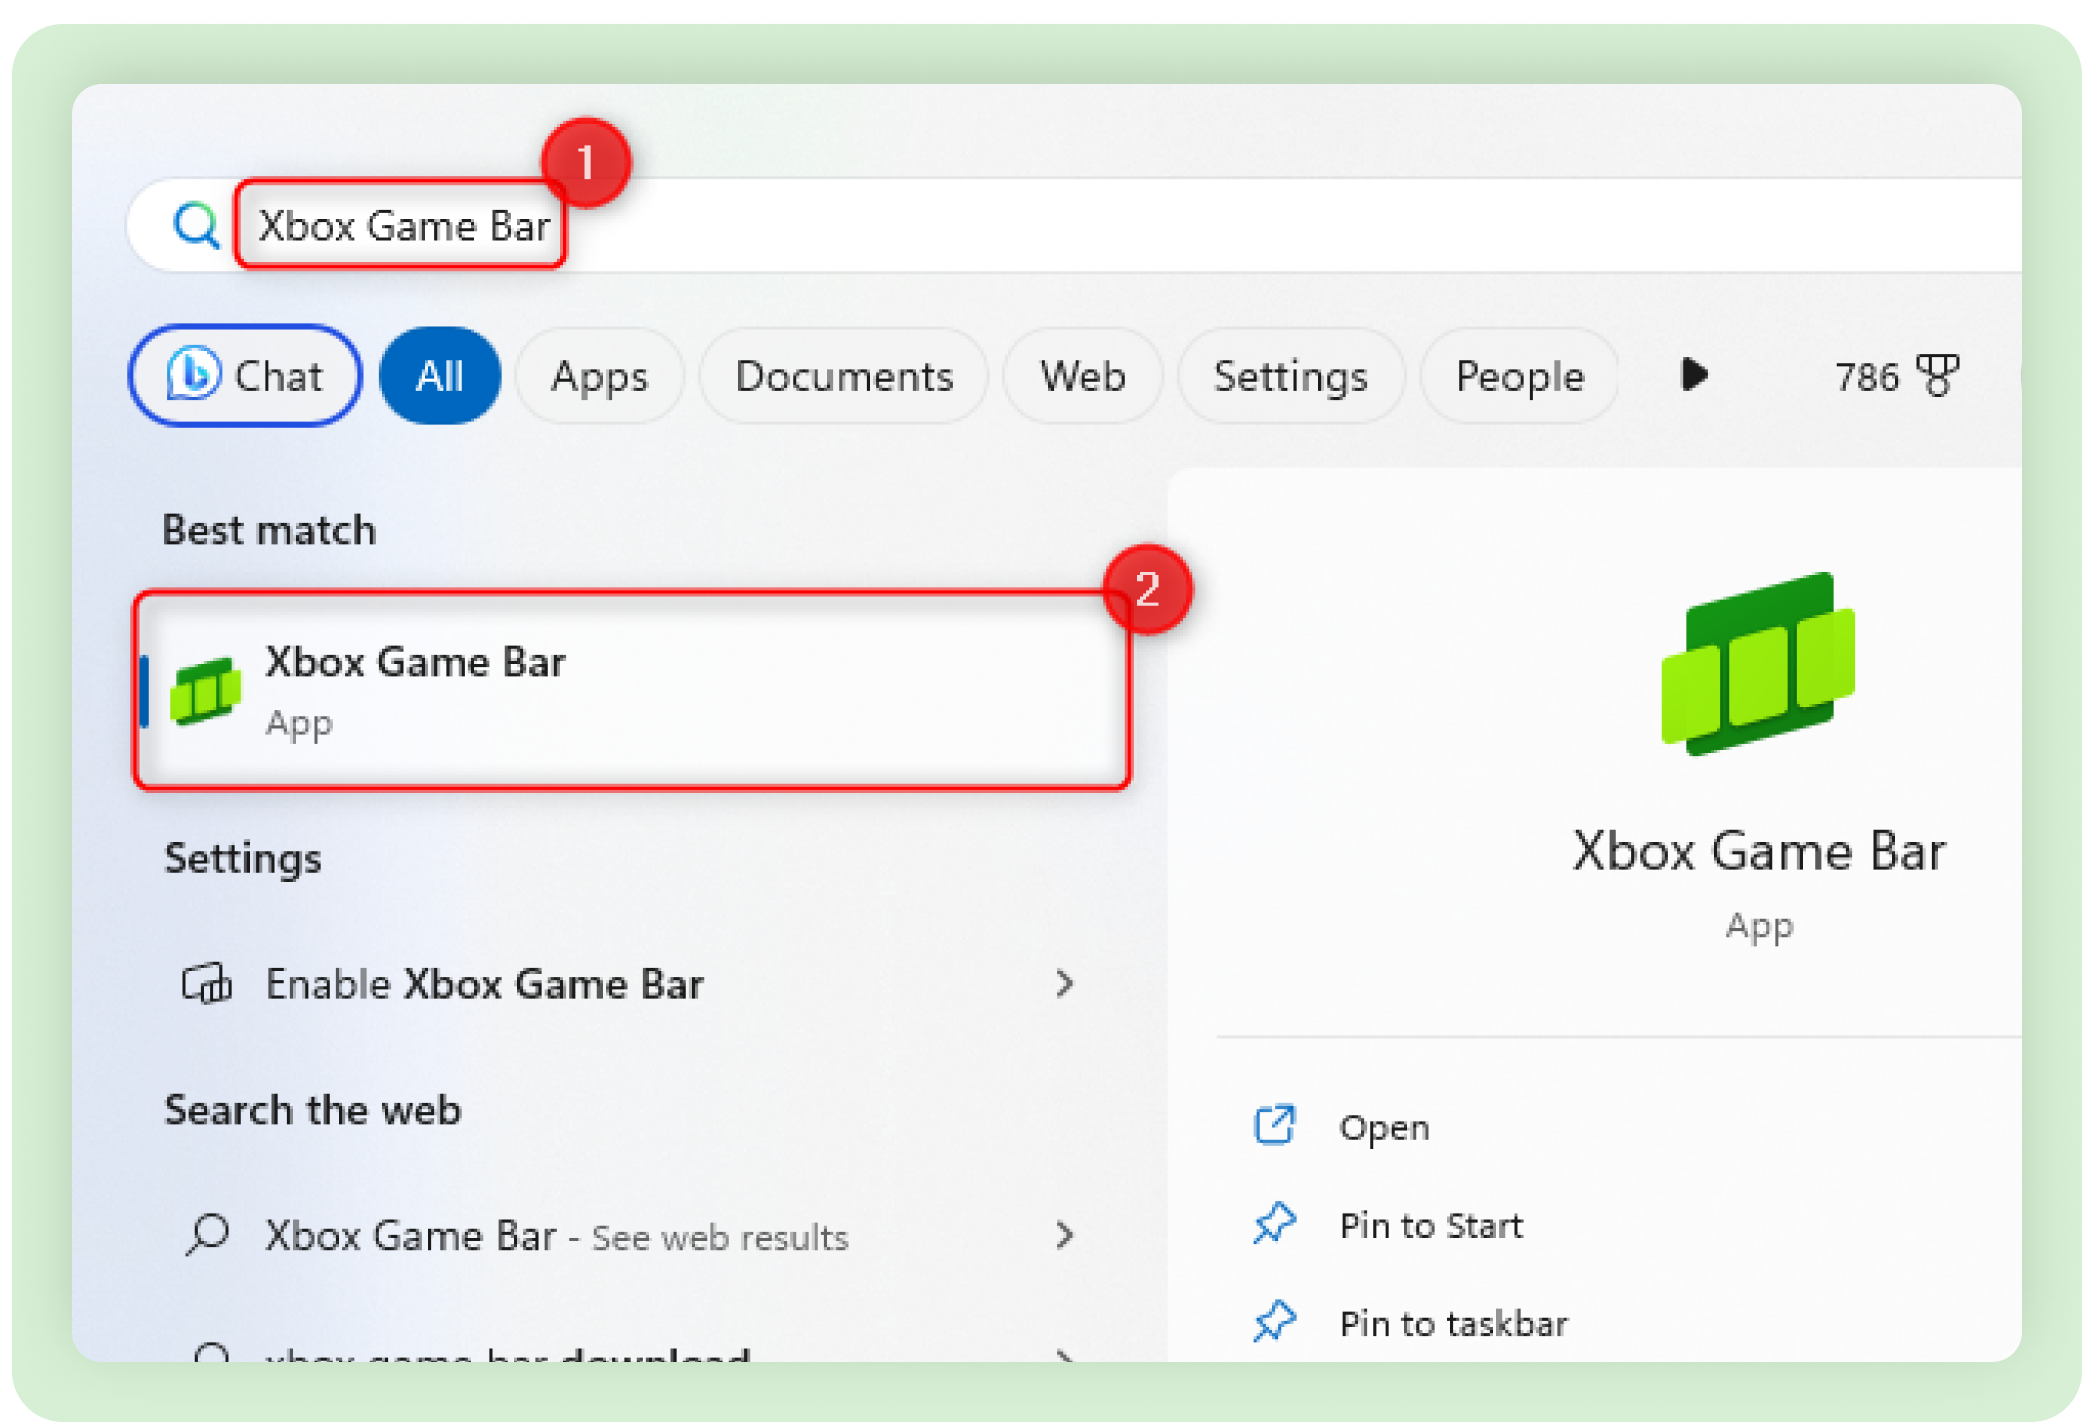
1. Search for the Xbox Game Bar in the Start menu and select the Best Match.
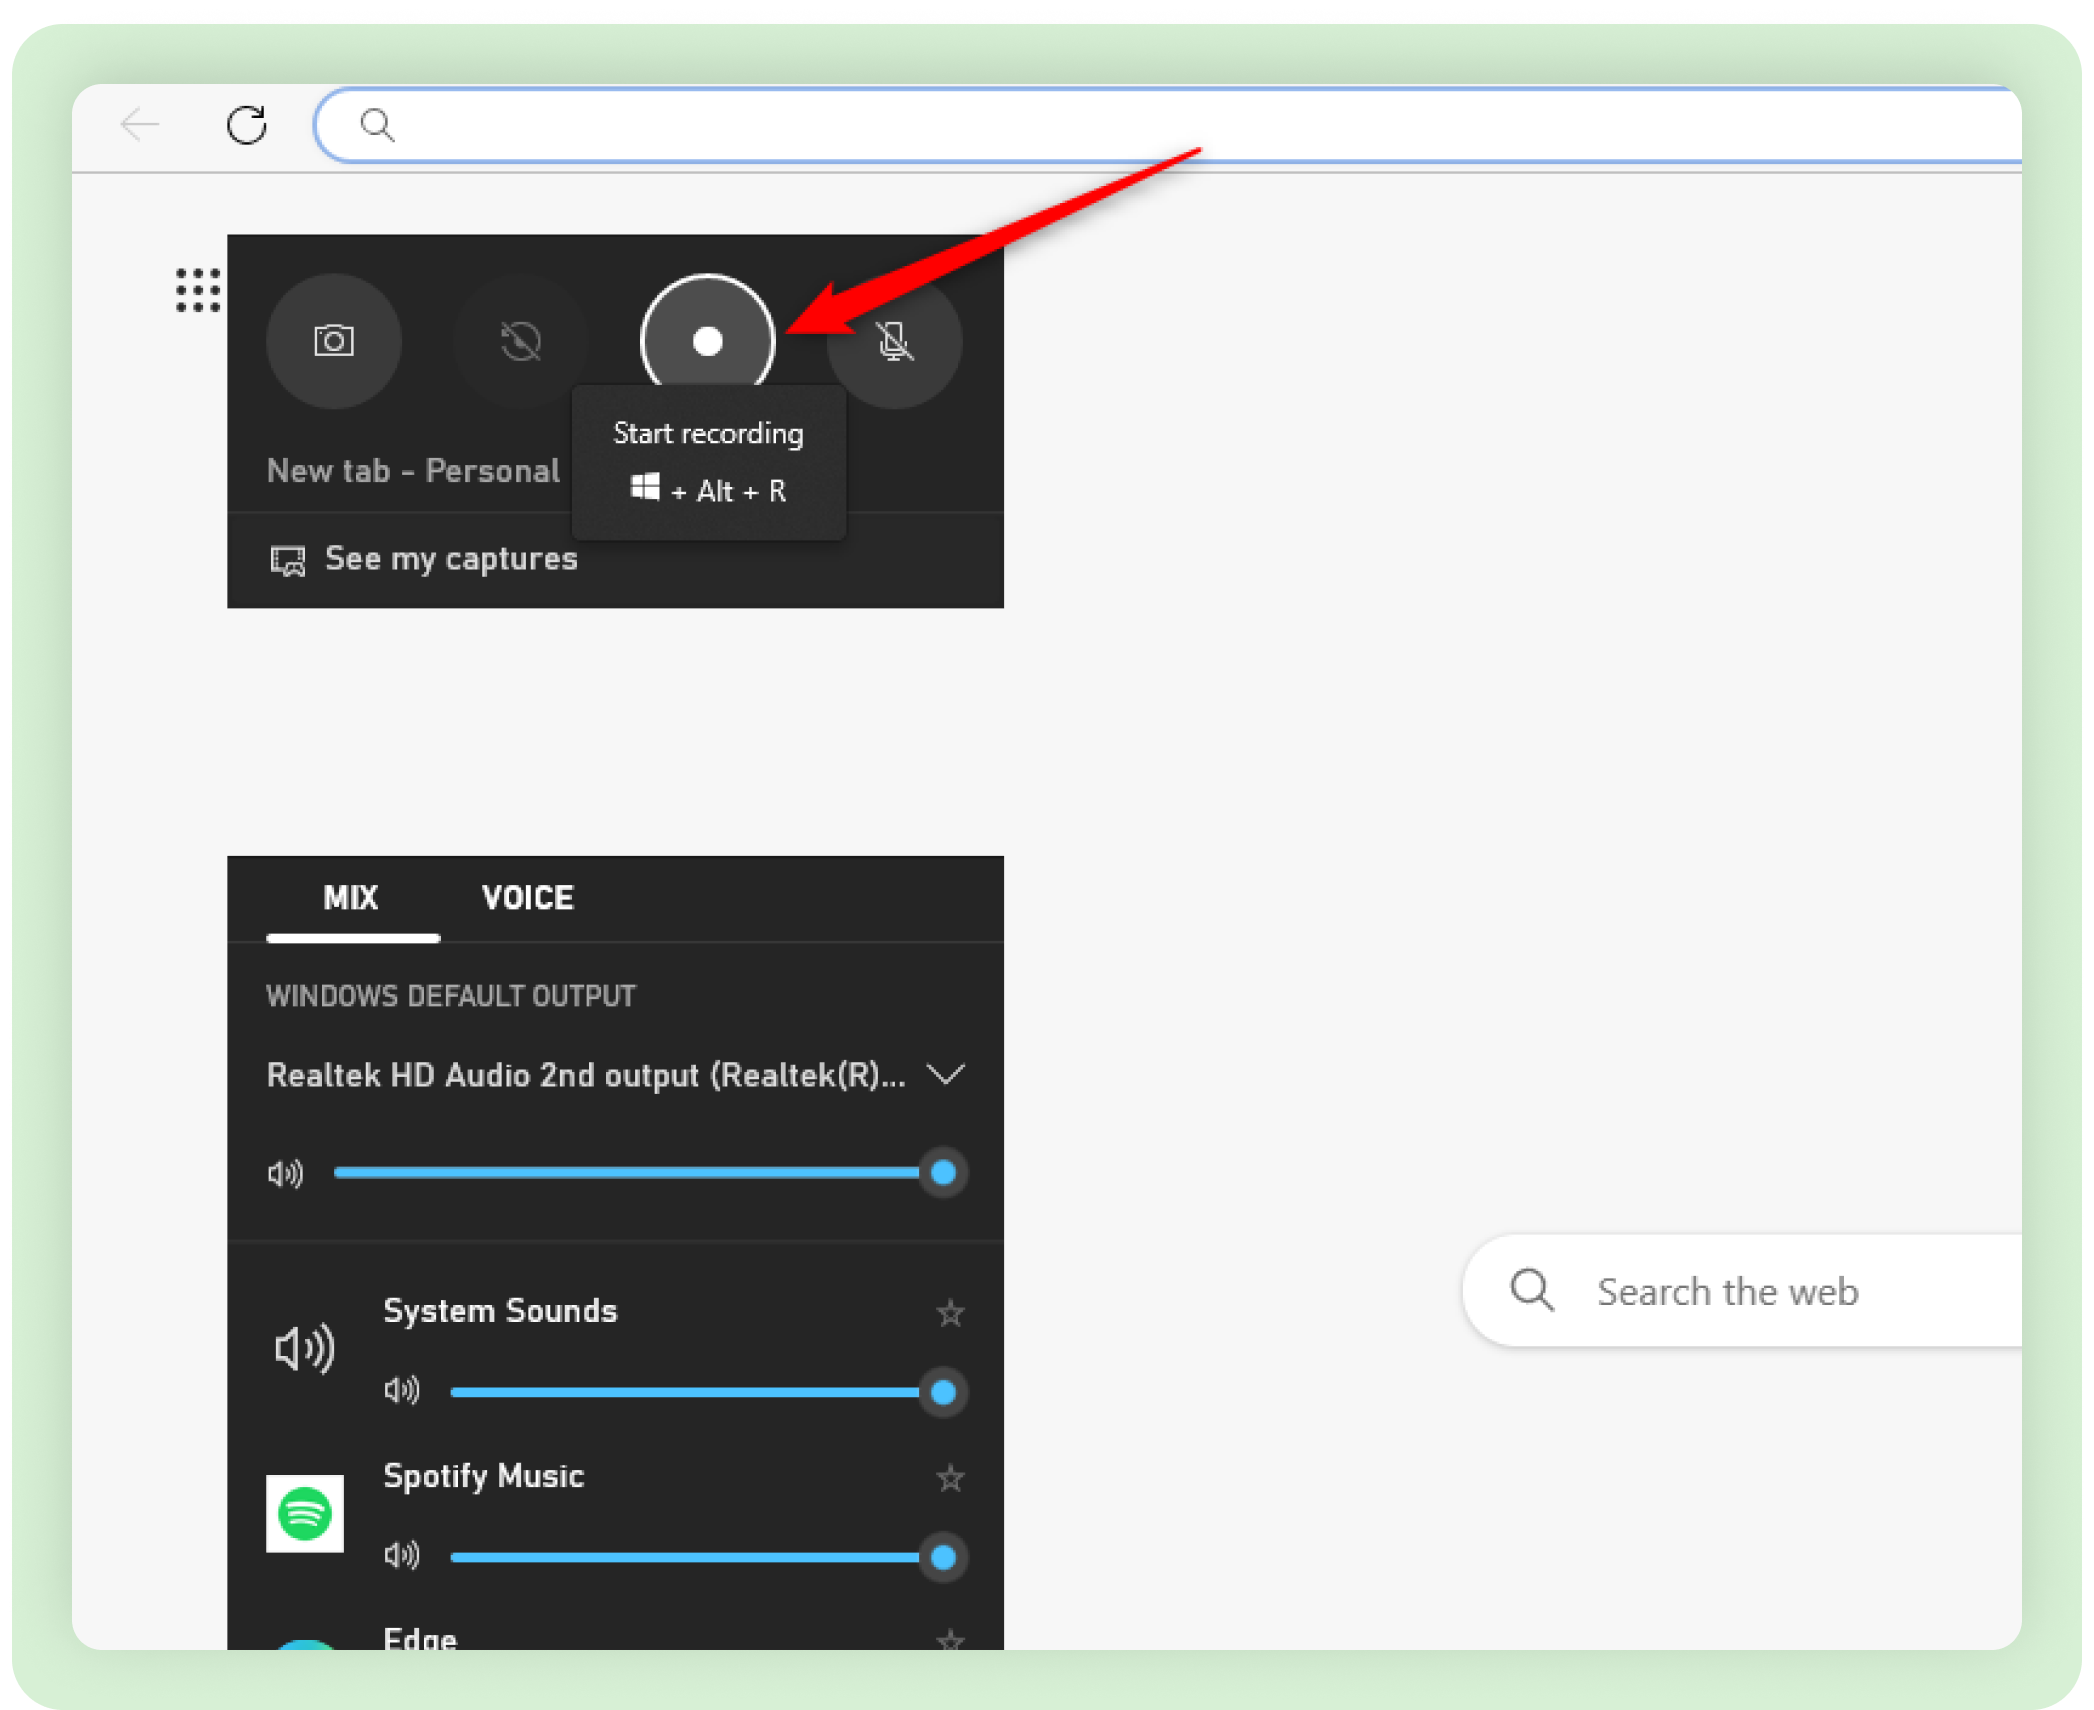
2. You'll see a few widgets pop up on the screen. Focus on the Audio settings. That's what's important when recording a non-gaming video.
3. Once you've selected the right audio settings, click on the Record button (the button with a dot) in the Capture widget to start recording.
When you're done recording, click the Stop button. Click the See my captures option to view the video recordings.
4. How to Record Your Windows Screen With the Snipping Tool
The Snipping Tool can record your screen.
But just like the Xbox Game Bar app, it has limitations. For example, the Snipping Tool doesn't capture audio.
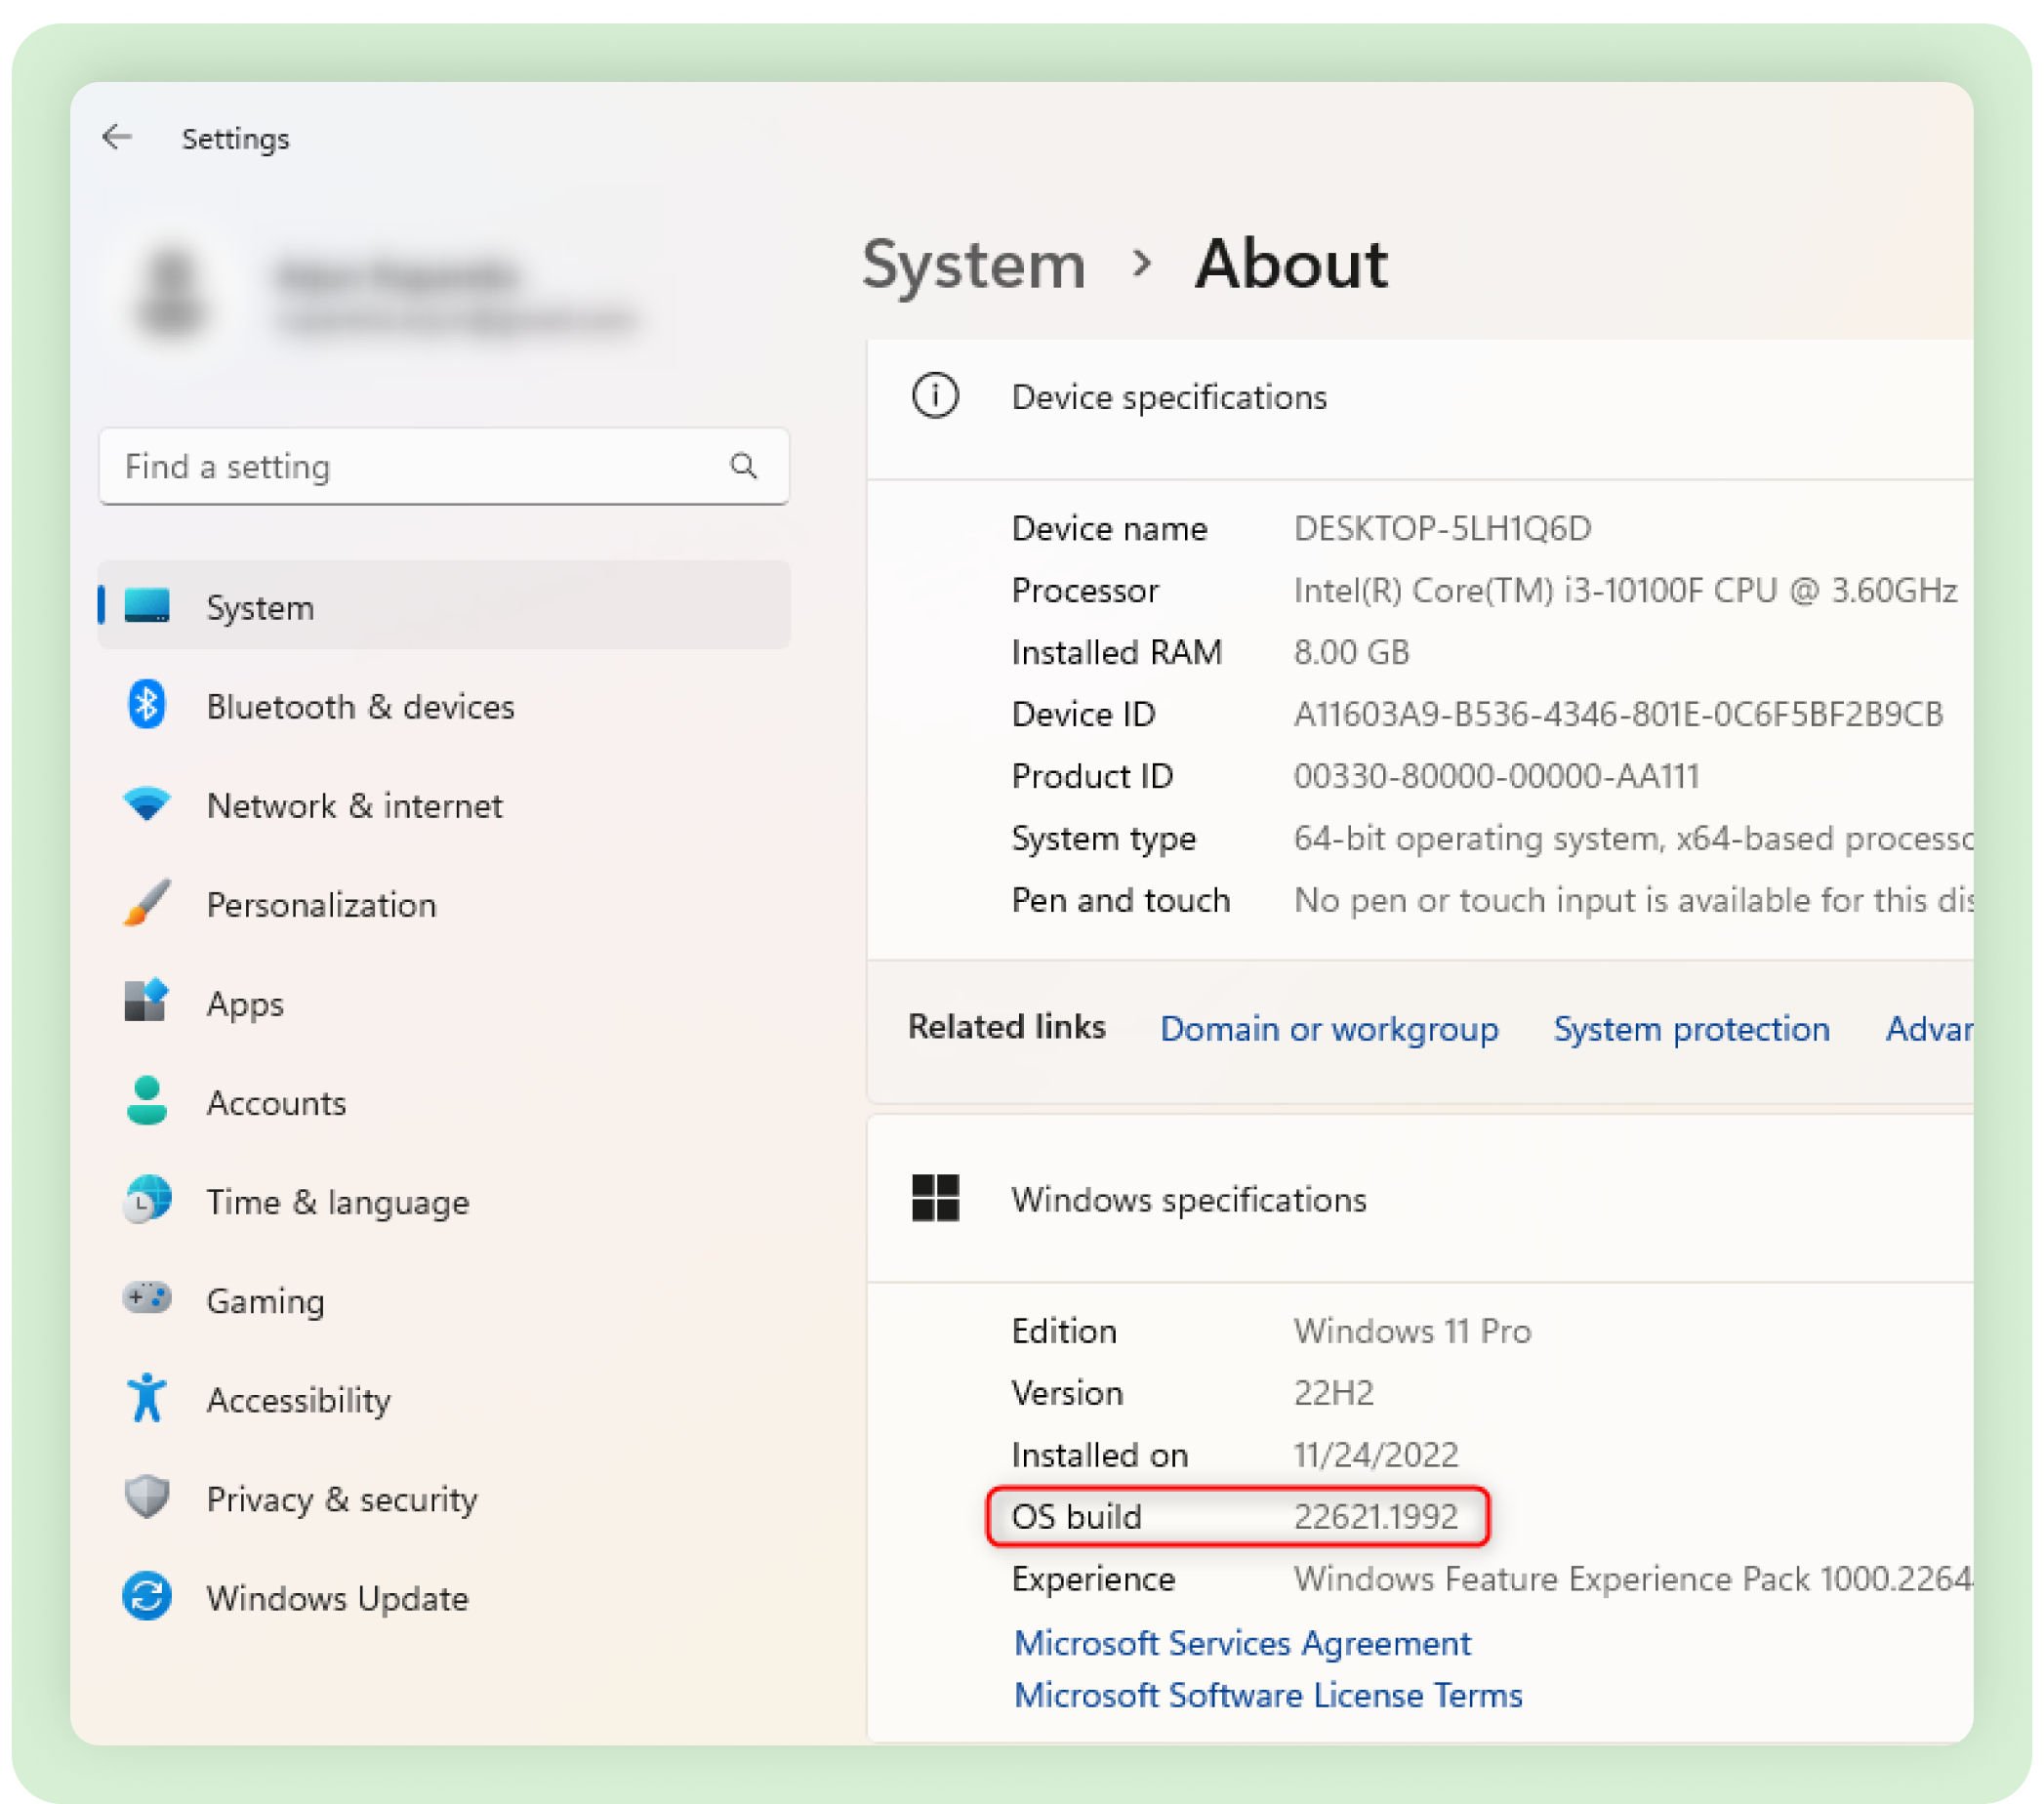
Plus, screen recording with the Snipping Tool is only available on Windows 11 build number 222621.1344 or higher.
So before you try this method, check your Windows version by going into Settings > System > About and selecting Windows Specifications to see the OS build.
If you have the right version, here's how you can record your screen using the Snipping Tool:
1. Search for the Snipping Tool in the Start menu and select the Best match.
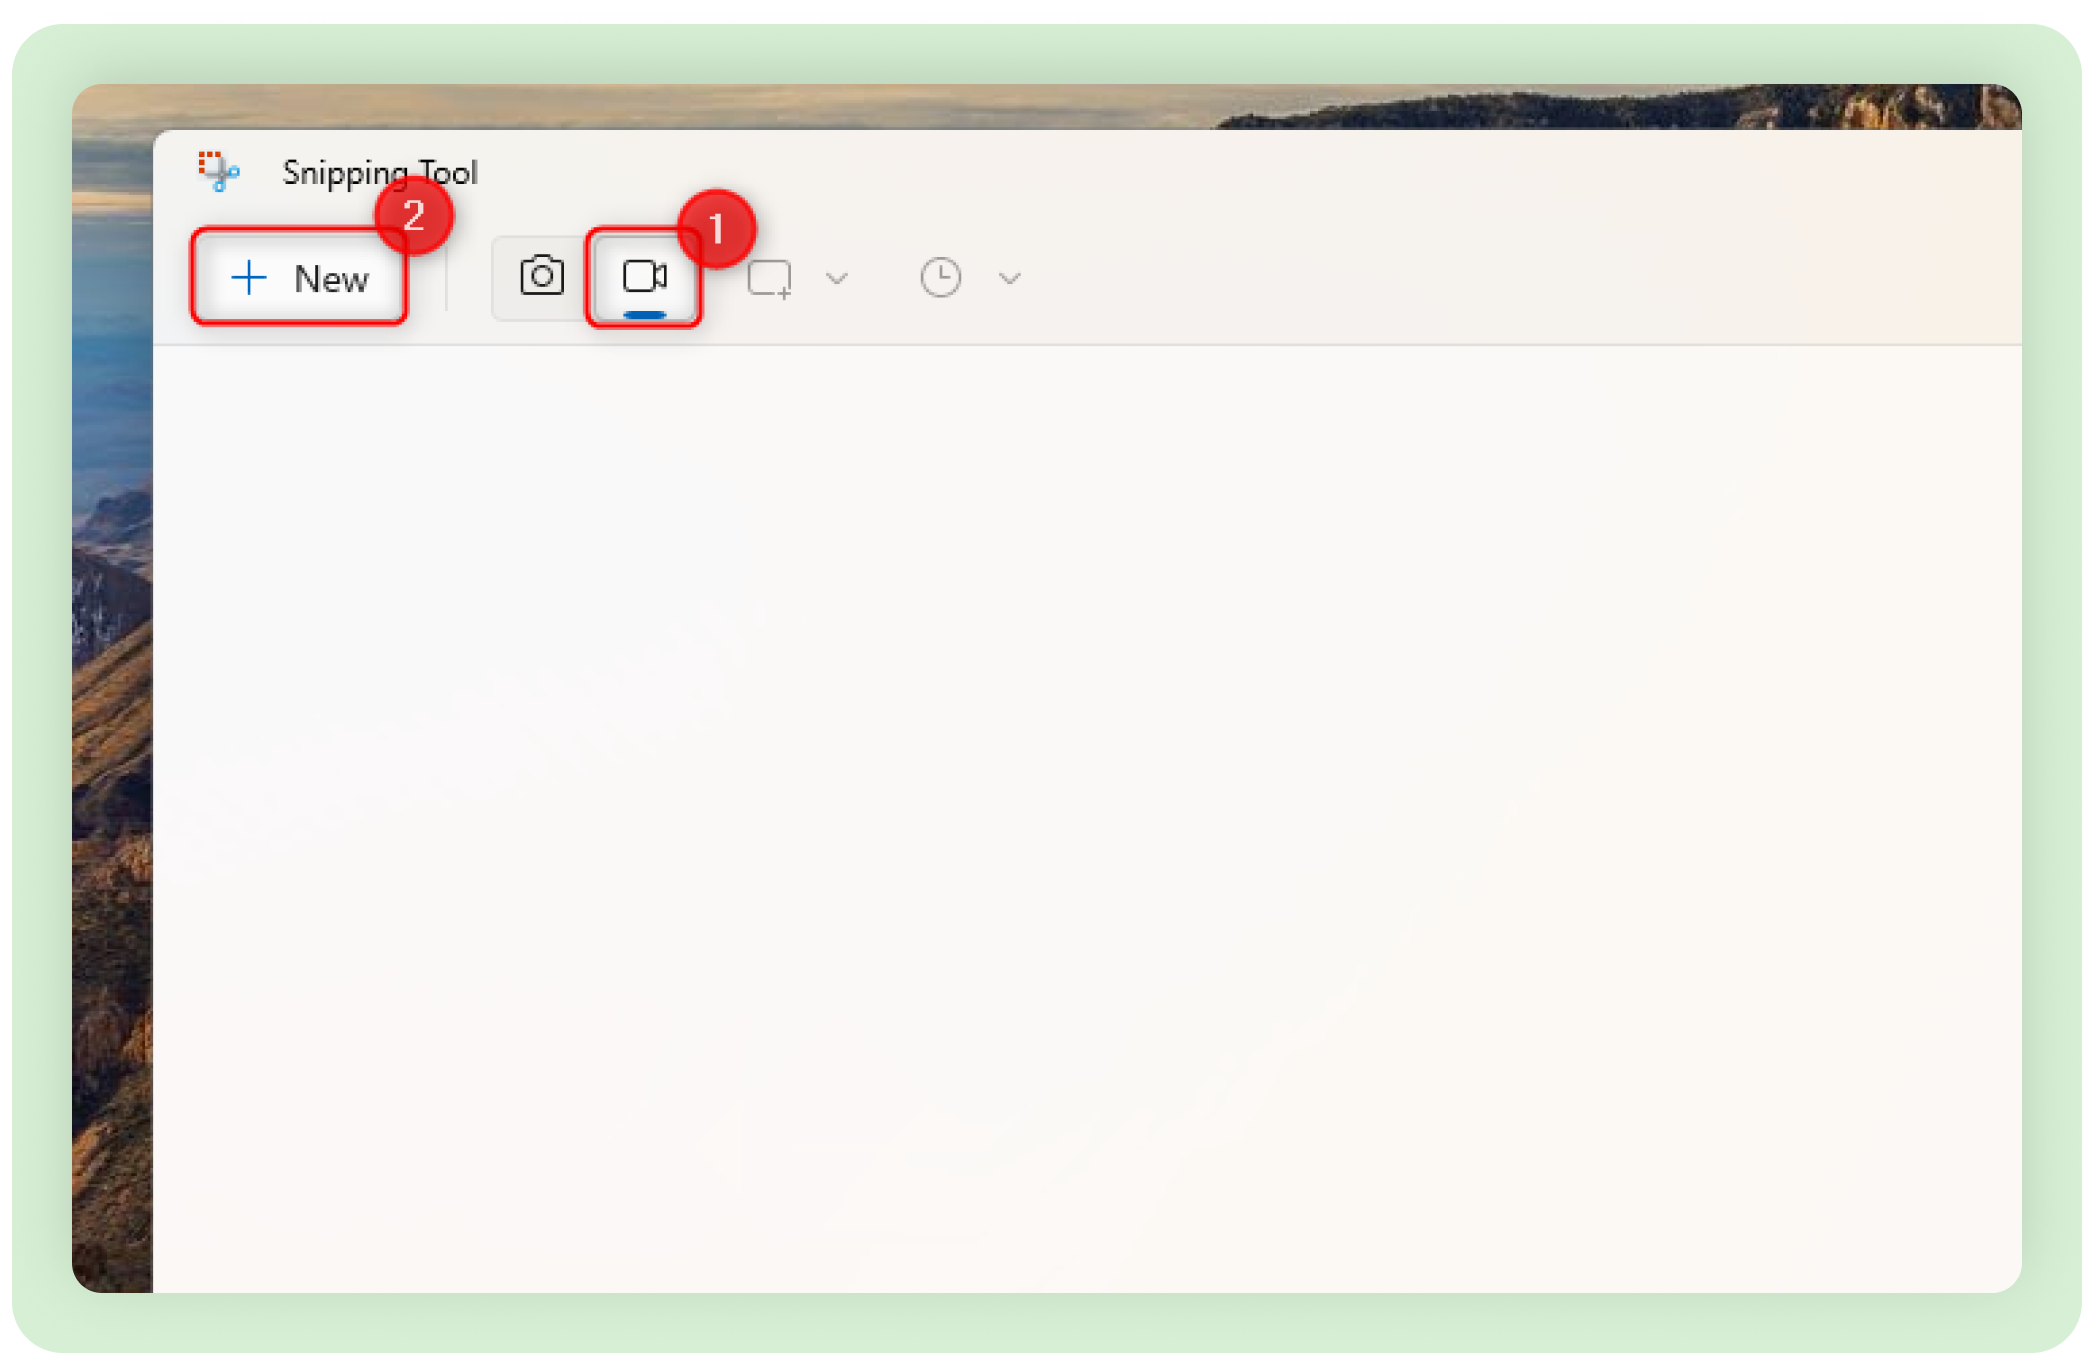
2. Select the camcorder icon at the top.
3. Click the New button.\
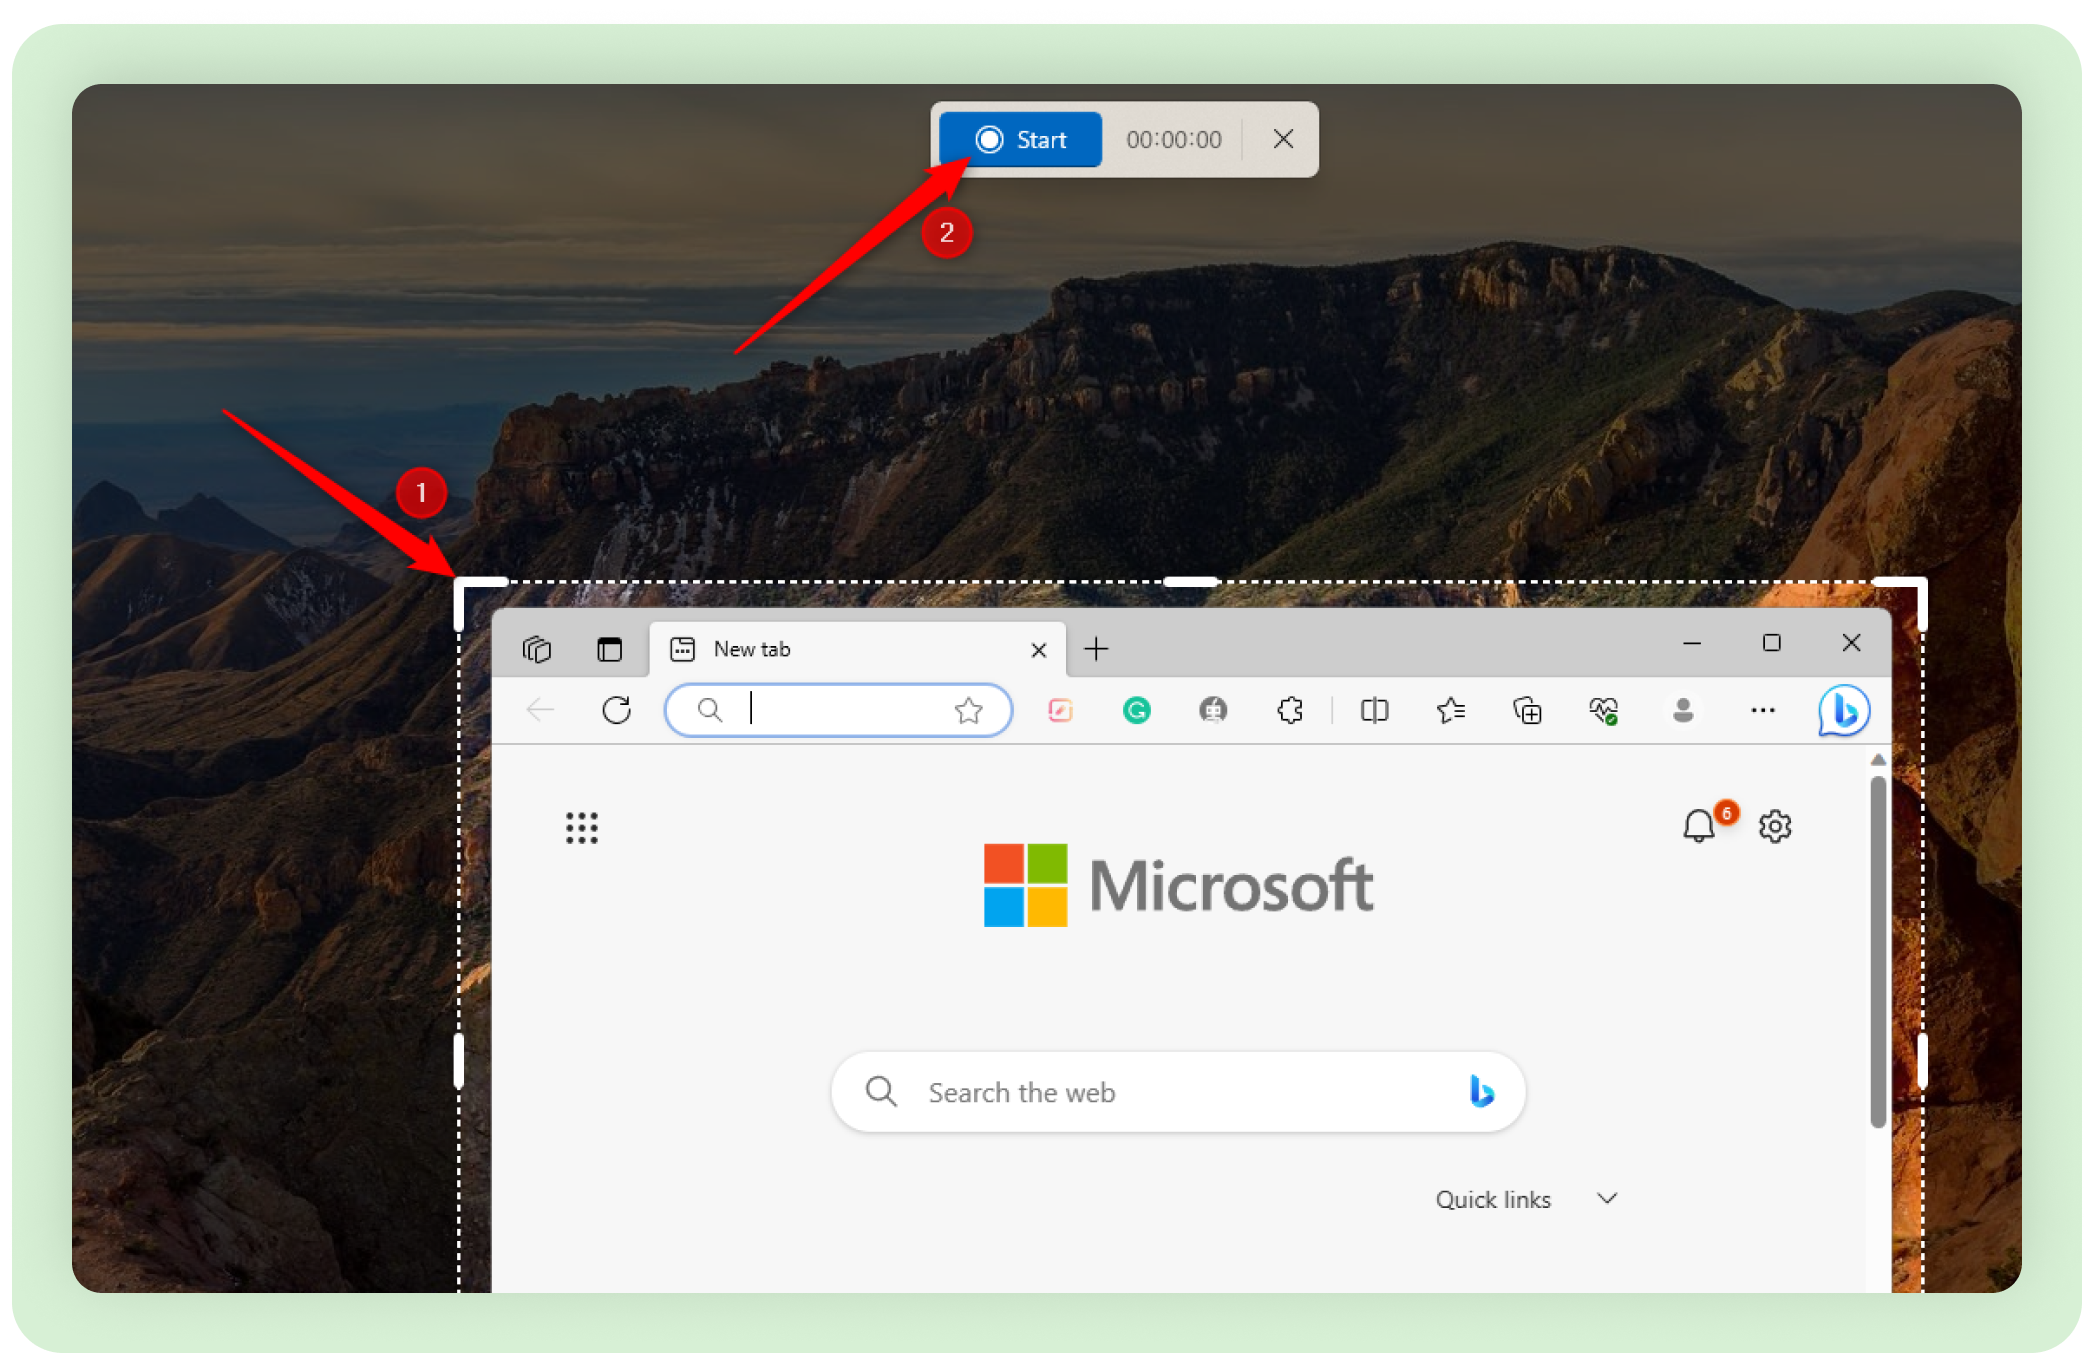
4. Select the area of the screen you want to record.
5. Click on the Record button.
Press the Stop button (the red square) to stop recording and save it.
Built-In or Third-Party Tools for Recording Screen on Windows?
Apps like Xbox Game Bar and the Snipping Tool are great options for non-business use.
They come pre-installed on Windows. So you can just open the app and start recording. But these apps aren't great for business use.
If you're an IT executive recording a tutorial for a new developer on the team or the HR manager trying to share employee feedback, you need a tool like Komodo.
Record your screen. Send the shareable link. Communicate via comments.
That's how simple Komodo makes recording your screen and communicating. Try Komodo for free today!
Get Unlimited Recordings with KomodoGet Komodo for FREE
About the author