Komodo Page Builder Tutorial
No date
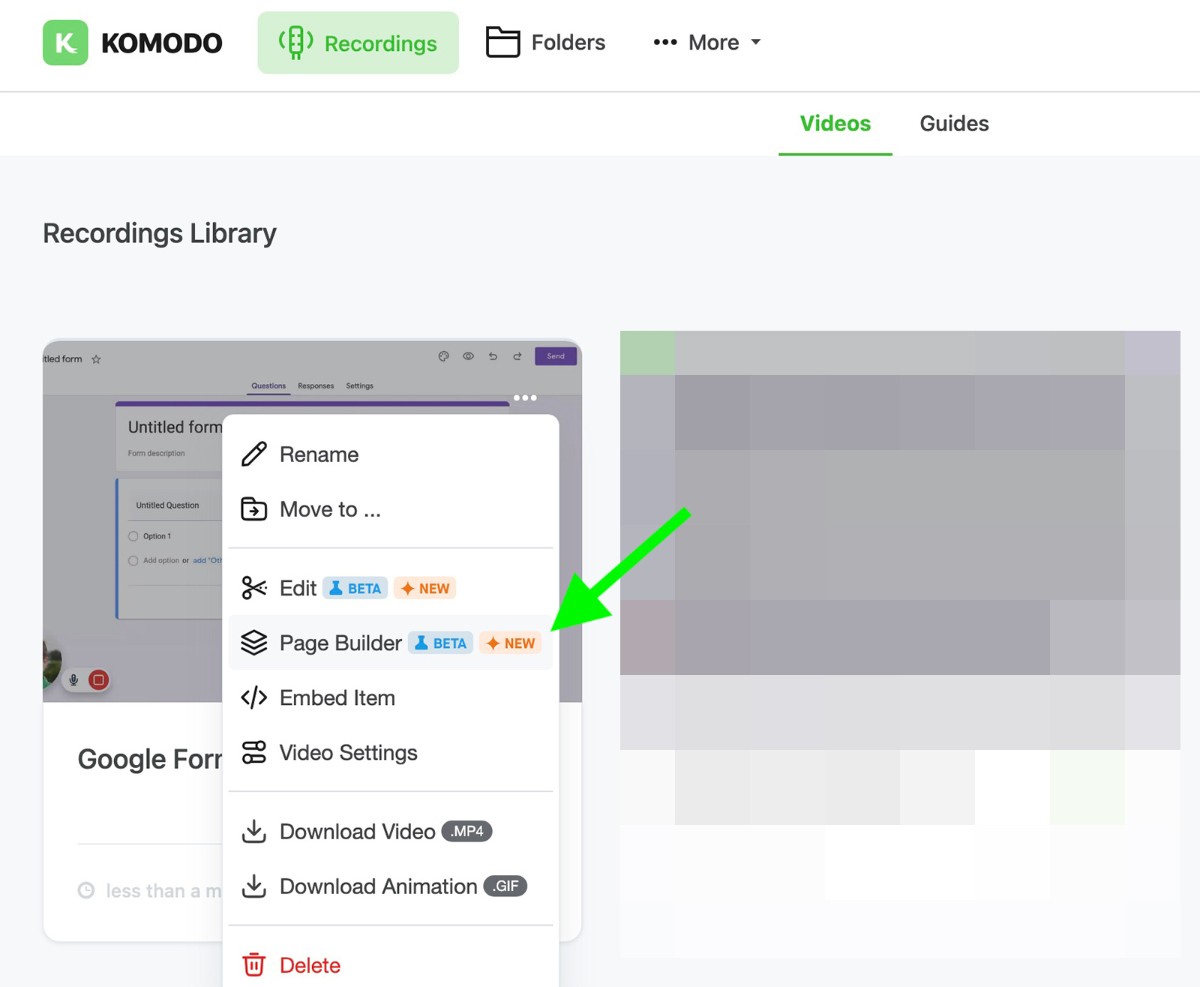
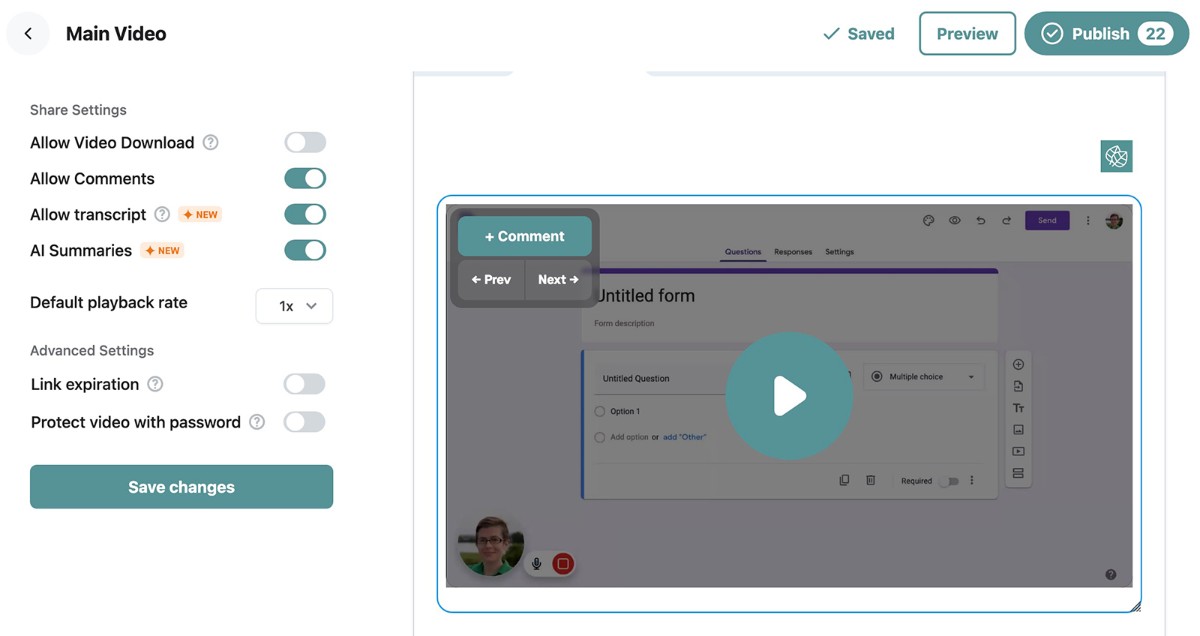
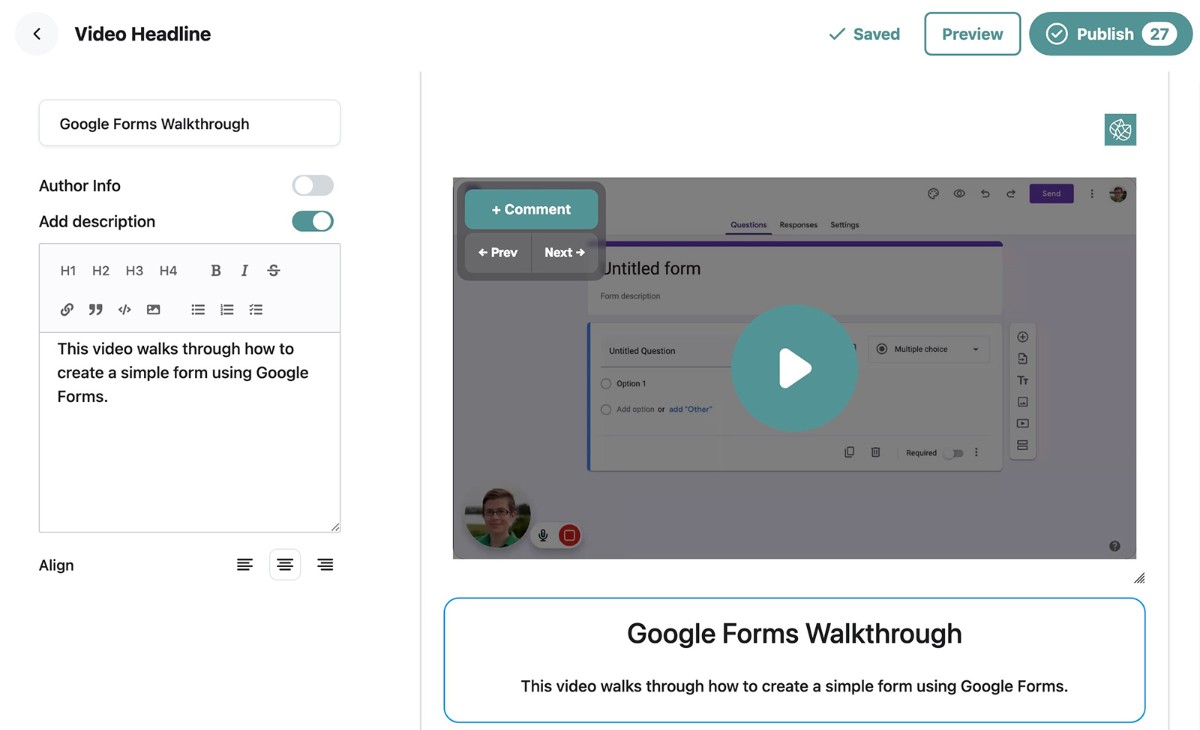
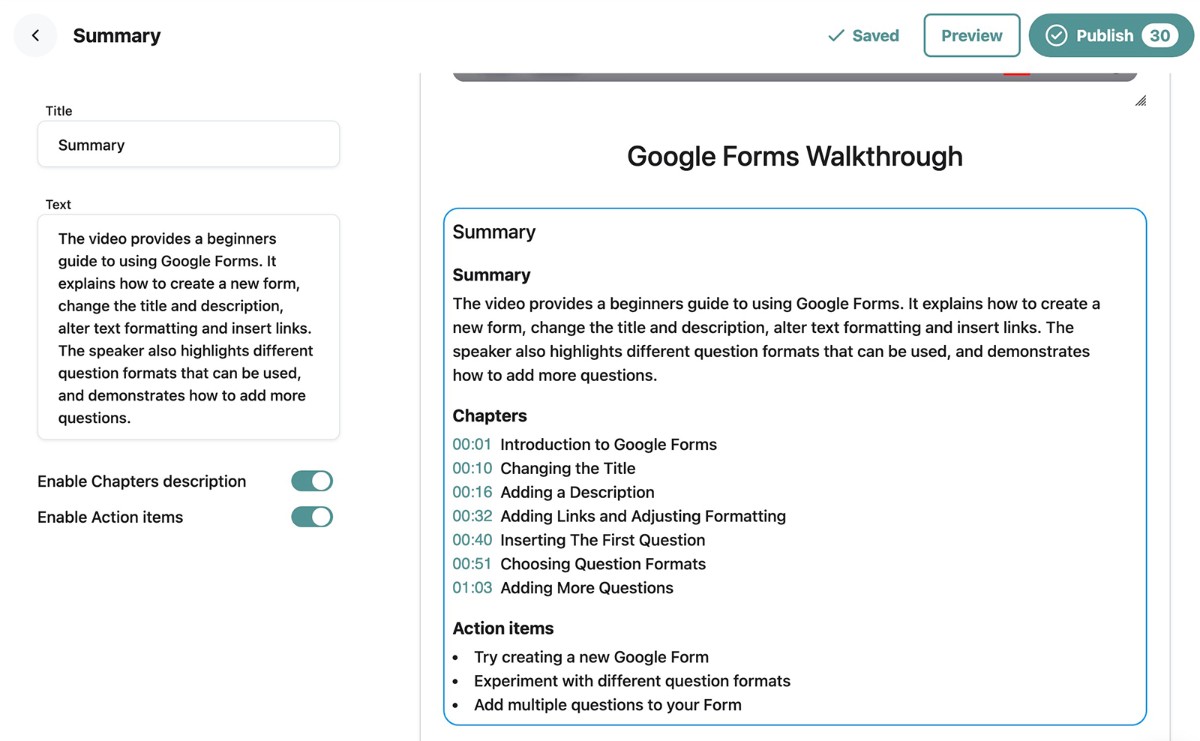
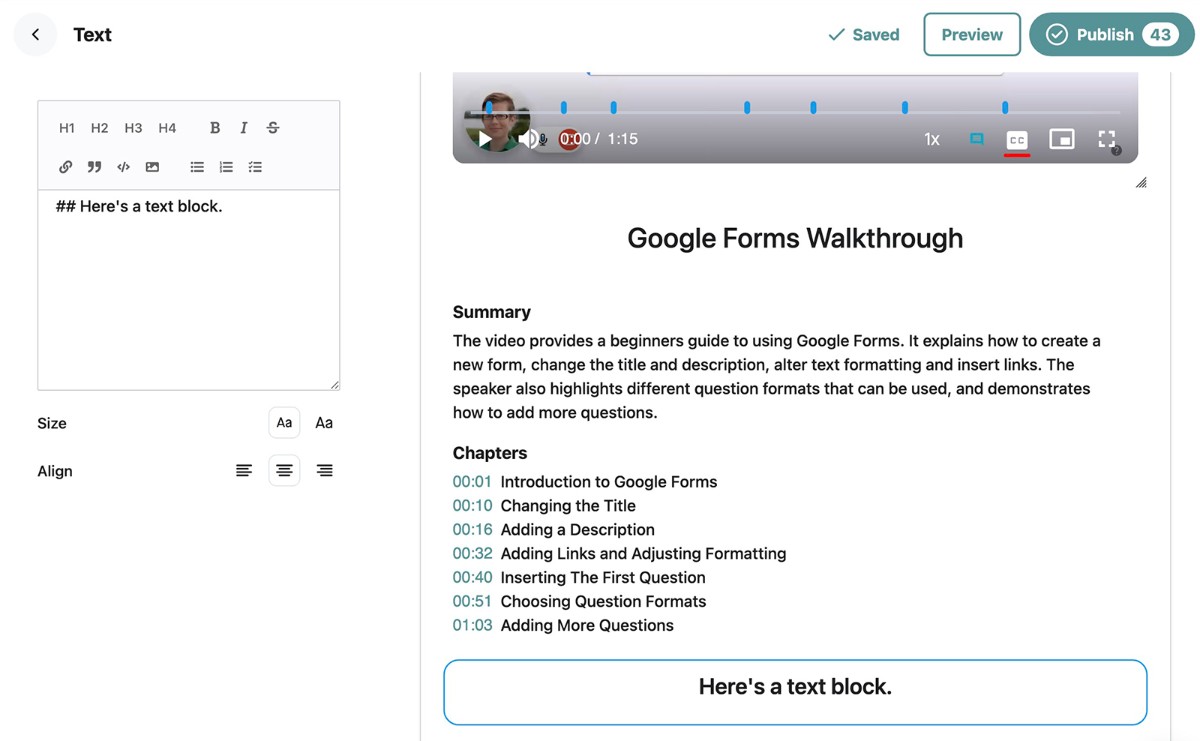
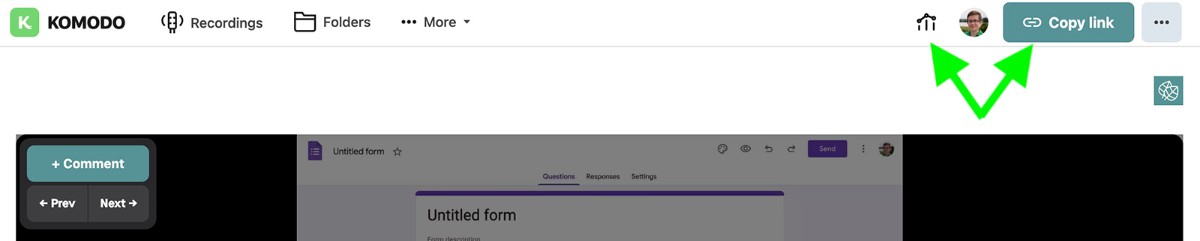
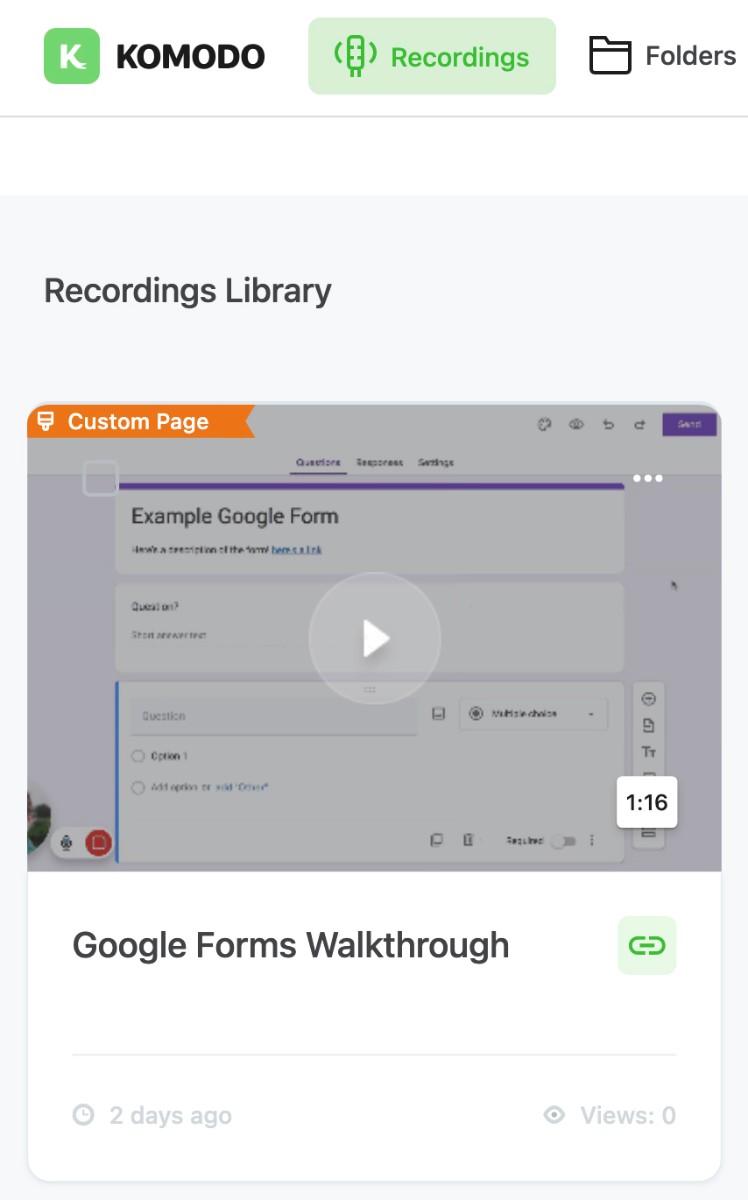
Intro to Komodo's Page Builder
Write
Preview
Komodo's [page builder](https://komododecks.com/products/page-builder) is ideal for: * Creating onboarding and training documents for new hires and contractors * Developing standard operating procedures (SOPs) for your team * Sharing custom product demos and resources with potential customers * Building knowledge bases that turn customers into power users The landing page builder is powered by **CaptureFusion** technology. With Komodo, you can capture content via our screen recorder and fuse ideas together using our creative tools. ## How to use Komodo's page builder Follow the steps below to create and customize a landing page. ### 1. Generate a landing page The starting point for any Komodo landing page is a screen recording. To begin, click **Recordings** to open your library. Select the **Videos** tab. Locate the video you want to feature on the landing page. Then click the three dots in the upper right corner to display the menu.
Write
Preview
From the menu, select **Page Builder**. Komodo will automatically generate a landing page for the video.
Write
Preview
### 2. Set the logo, branding, and title The default color for all landing page elements is Komodo's signature green. To replace it with your branding, click to open the **Logo, Branding & Title** element.
Write
Preview
Then set your brand’s color scheme. You also have the option to upload your logo.
Write
Preview
Komodo landing pages use the name of the featured video as the page title. To give your page a unique name, enter it under **Page Title**. Then click the left arrow to apply the changes.
Write
Preview
### 3. Update the video settings Need to change the privacy or display settings for the video? Open the **Main Video** element to review the options.
Write
Preview
From here, you can: * Allow viewers to download the video * Enable viewers to comment * Display an AI-powered transcript * Show an AI-powered summary * Adjust the playback rate between .75x to 2x * Set an expiration date for the video * Add password protection for the video Click **Save Changes**. Then click the left arrow to return to the main page builder screen. To change if or how the video title displays on the page, click to open the **Video Headline** element. You can edit the title, change the alignment, and toggle the author profile on or off.
Write
Preview
You also have the option to write a custom video description. Use the formatting tools to add bold, italics, subheadings, and so on. ### 4. Auto-generate a summary and chapters Want to make your videos more accessible? Click **Add Element**, and then select **Summary** from the menu. Komodo automatically summarizes the video, adds chapters for quick navigation, and suggests action items to prompt next steps for the viewer.
Write
Preview
You can edit or completely remove any of this content to fit your use case. For example, you can add more context to the summary or insert more chapters. Click **Save** to keep any changes. Then click the left arrow to return to the main page. ### 5. Write landing page copy Need to add more context to the page? You aren't limited to video summaries and timestamps. To add landing page copy, click the **Add Element** button. From the menu, select **Text**.
Write
Preview
Then type or paste your copy. Use the toolbar to add formatting—including subheadings, links, and block quotes. Use the **Size** and **Align** options to adjust how the text displays. ### 6. Create lists and action items Prefer to call out key points or action items in list format? You can add a list to any text element.
Write
Preview
Enter the list items and select one of the available formats. You can choose from bullets, numbers, or checkboxes. ### 7. Add images and screenshots Want to show screenshots from key moments in the video? Need to provide more context for a product demo or onboarding video?
Write
Preview
Choose **Image** from the list of page elements, and then select an image to upload. Add an optional caption below the image and adjust the alignment as necessary. (Note that if you need to create a walkthrough with several screenshots, Komodo's[ guide tool](https://komododecks.com/products/guides) may be a better option. It automatically turns your on-screen actions into steps with instructions and screenshots.) ### 8. Upload attachments Need to give viewers access to external resources like PDFs, documents, or spreadsheets? From the list of elements, select **Attachments**.
Write
Preview
Select a file to upload. Viewers will be able to download the file directly from the landing page. ### 9. Introduce more Komodos Want to guide viewers through several different steps or processes? You can build a complete SOP by adding multiple screen recordings to a single landing page. From the list of elements, select **Komodos**. Then upload an MP4 or MOV video file or choose a screen recording from your Komodo recordings library.
Write
Preview
Need to add a heading, summary, or description for any of these additional Komodos? Use the list of page builder elements to place them before or after each video. ### 10. Welcome feedback Want to encourage viewers to ask questions or leave comments on your landing page? You can add feedback prompts after videos or anywhere else on the page.
Write
Preview
From the list of elements, select **Feedback Input**. When viewers leave feedback, you'll receive a notification so you can respond as necessary. ### 11. Embed content Need to add a custom element or an interactive form to your landing page? Select **Embed Code** from the list of page builder elements.
Write
Preview
Then copy the embed code from your lead generation form or other resource and paste it into the field. Adjust the alignment and click the **Embed Code** button to save your work. ### 12. Place call-to-action buttons Need to prompt viewers to take the next step after visiting your page? Add a call-to-action (CTA) button by selecting **Button** from the list of elements.
Write
Preview
Enter the CTA text and URL. Then use the size, alignment, spacing, and color settings to ensure the button displays correctly and stands out on the page. ### 13. Include social links Want to give viewers other ways to connect with your business? From the list of elements, select **Social Links**.
Write
Preview
Click to add a link to any major social media network. Enter your profile URL, and repeat to add more social links. ### 14. Customize the page layout To build out your landing page, you can continue to add as many elements as you need. To edit page content before or after publication, just click to open the element and make changes. You can also customize or change the layout. Drag and drop any of the elements into your preferred order. You can also click the eye icon to hide any element from view. ## How to share and analyze Komodo landing pages When you're finished creating the page, press the **Publish** button in the upper right corner. Then you can share the link with clients or colleagues and start monitoring analytics. ### Share published landing pages To share a published landing page, open it from your Komodo recordings library. Click the **Copy Link** button in the upper right corner. Then share the link via email, Slack, or DMs.
Write
Preview
### Review landing page analytics Curious how your pages are performing—or if anyone's actually viewing your videos? Open any landing page from your Komodo recordings library and click the analytics icon in the top menu.
Write
Preview
Here, you can see the number of page and video views. You can also see the percentage viewed for any video.
Write
Preview
Komodo displays view data for both anonymous and logged-in viewers. As a result, you can see exactly who's visited your page or watched your screen recordings.
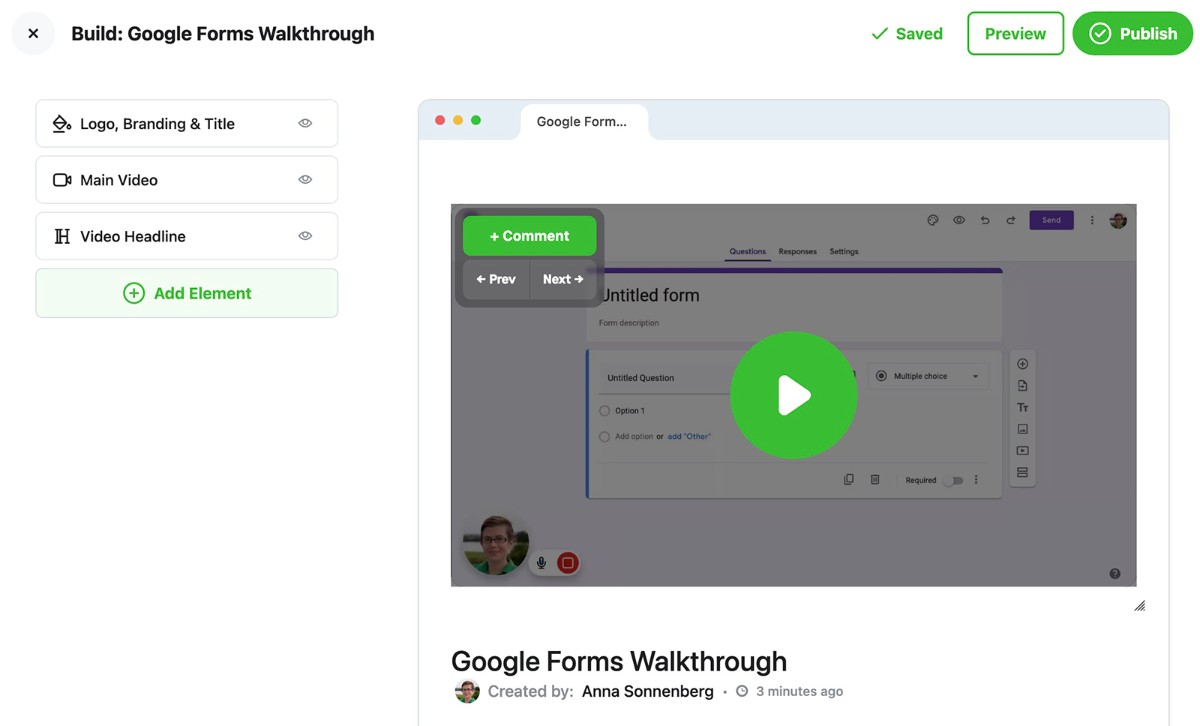
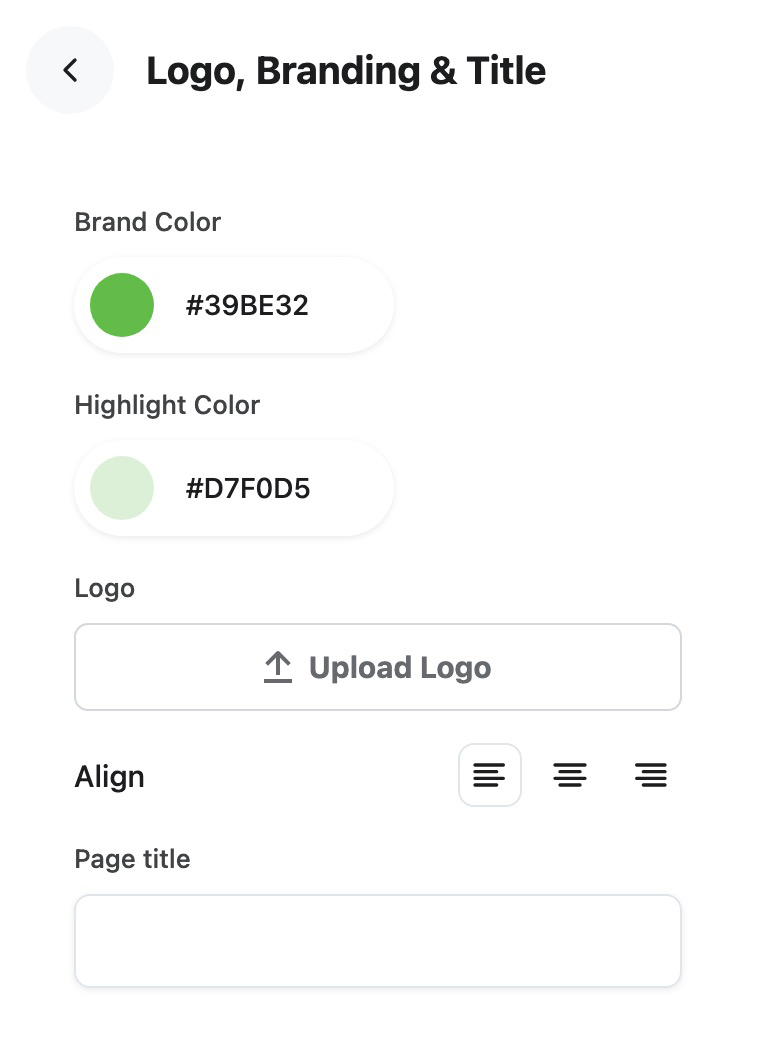
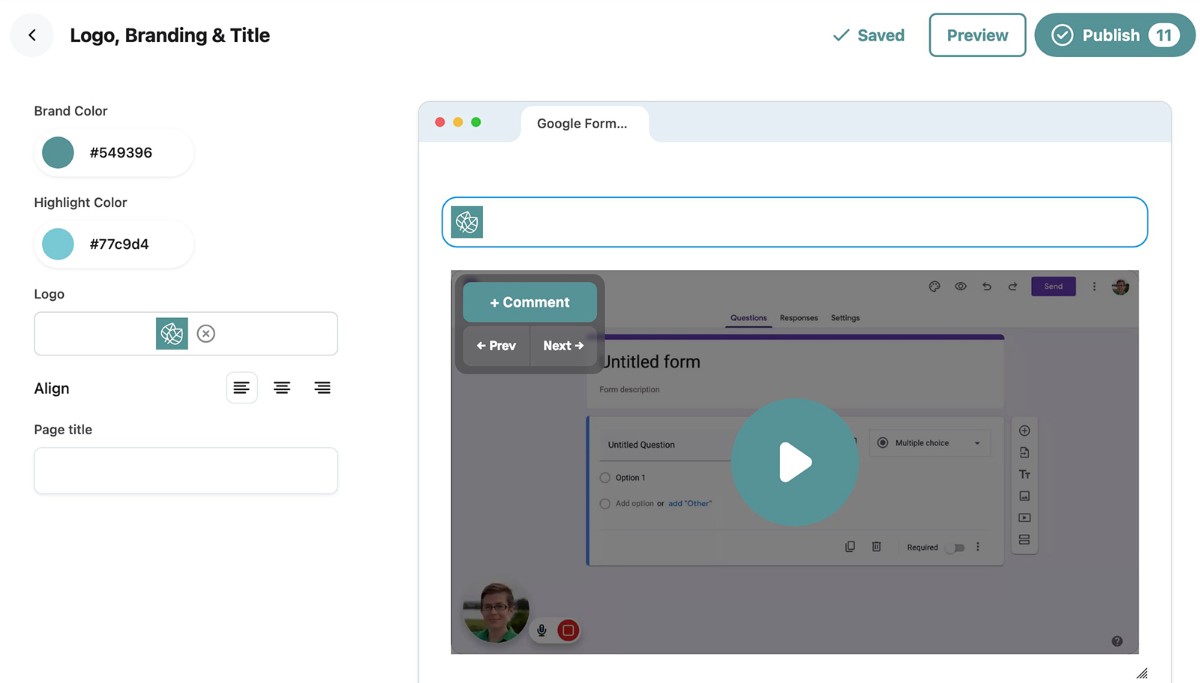
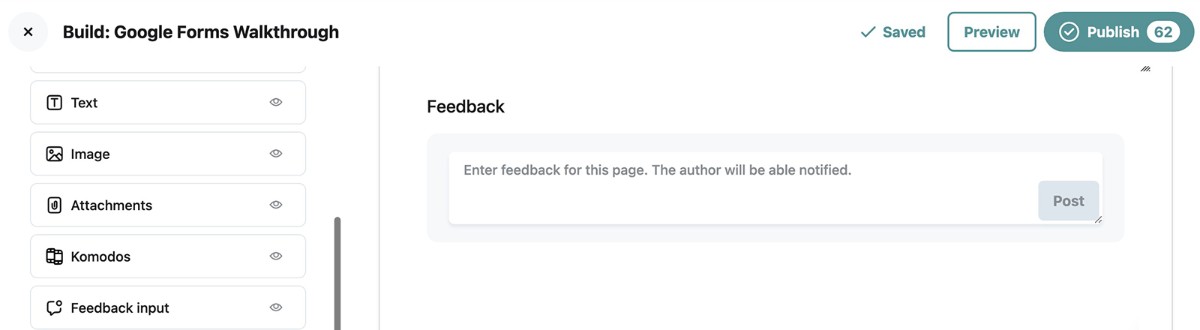
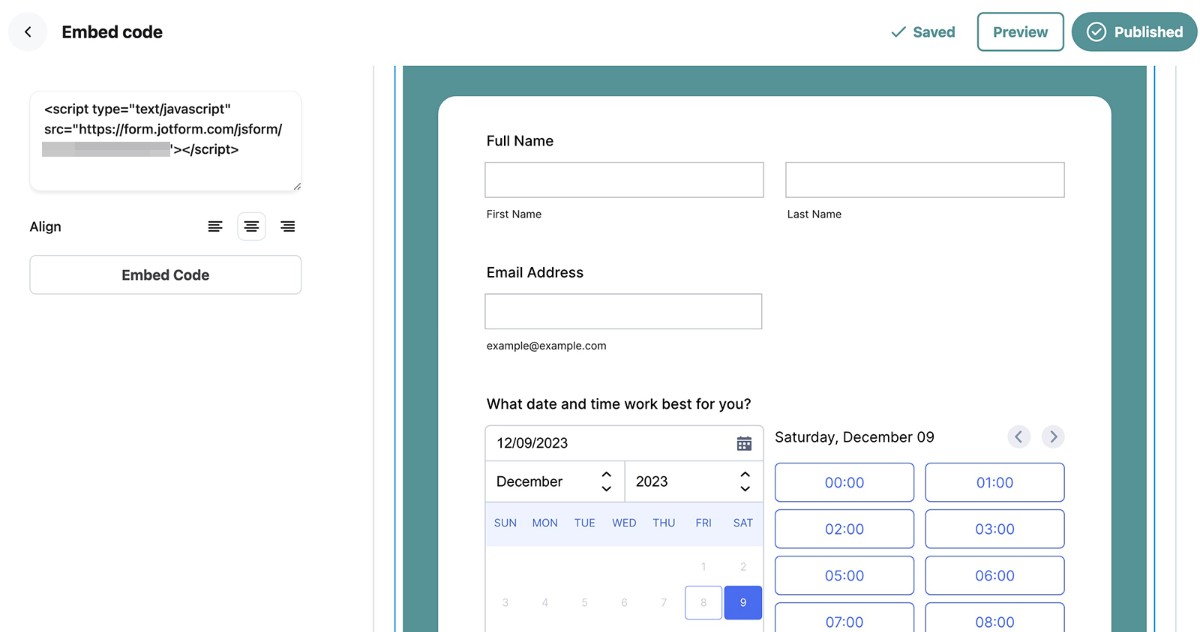
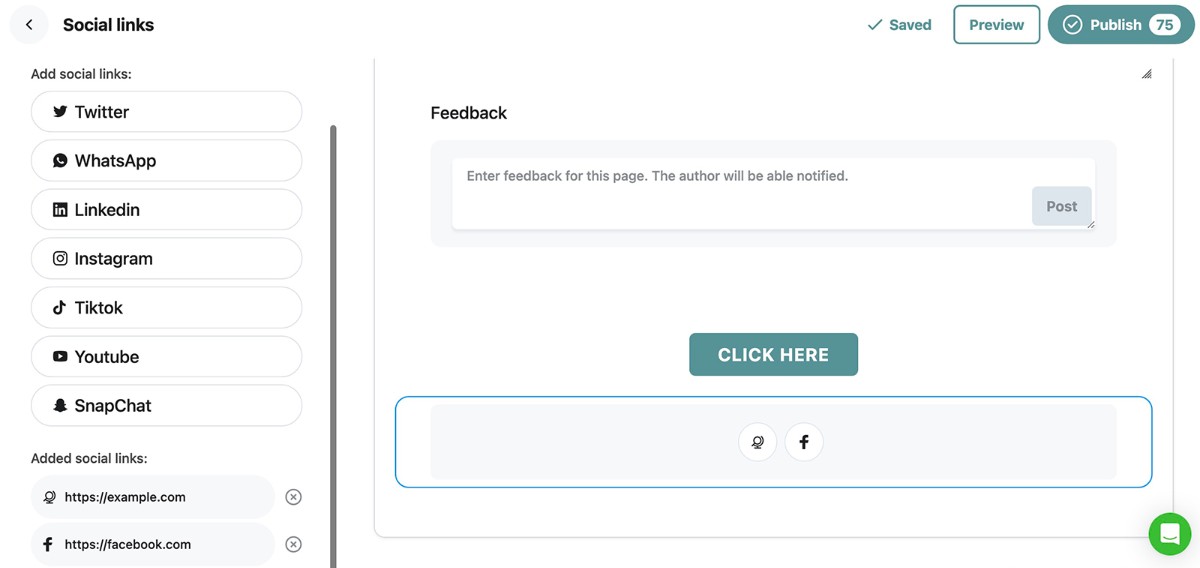
Build a Landing Page
Powered by
Komodo